Customers blame “bad cups” when coffee leaks, cups go soft, and lids pop—then refunds and reviews hit fast.
I prevent these failures by defining the exact failure mode first, then controlling cup build, rim/curl, seam/bottom seals, and delivery stress with stress-first validation (cup + lid + sleeve + carton).
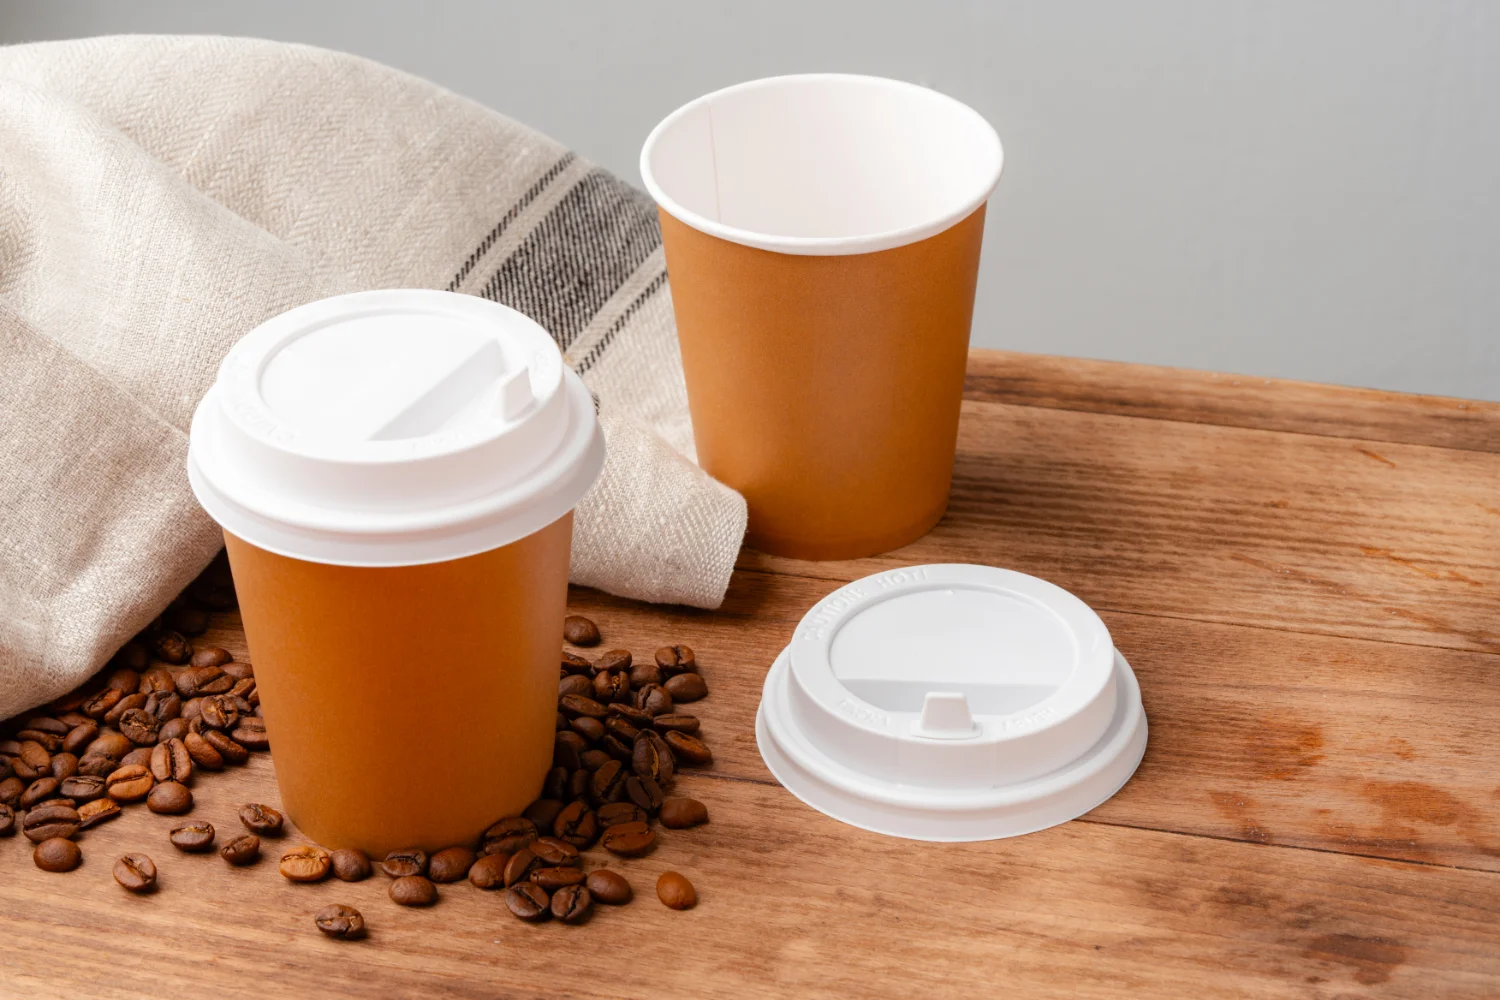
See our custom paper cup options if you need a cup spec that survives real hot-fill and iced condensation.

I do not treat hot and iced as “the same cup with a different drink.” Heat pushes the rim and seam. Ice adds condensation, cold shock, and long dwell time. If I match the build to the abuse pattern, failures stop being random—and production becomes repeatable.
Define the failure first: What do “softening, warping, and seam failure” look like in coffee cups?
Teams waste weeks debating board and coating, but the real leak path stays unnamed—and it repeats in every shipment.
I separate rim leaks, side seam weeping, bottom seepage, and wall softening, because each has a different trigger and a different control point.
How I translate complaints into measurable failure modes
| Complaint wording |
Likely failure mode |
Where I inspect first |
What I measure |
| “It leaks when I sip” |
Rim/curl collapse or lid mismatch |
Rim curl + lid bead contact |
Rim compression, lid fit consistency |
| “It slowly weeps” |
Side seam micro-channel |
Seam overlap zone |
Seam integrity trend under dwell |
| “Bottom is wet” |
Bottom knurl leakage |
Knurl + base interface |
Base seal drift after heat/moisture |
| “Cup gets soft” |
Board softening from heat or condensation |
Wall + rim region |
Stiffness drop over time |
From a production standpoint, this matters because “leak” is not one problem. If I treat every complaint as one bucket, I will overbuild the wrong area and still miss the real defect. In real manufacturing, this detail often determines whether a fix survives scale or disappears after the first big run. I ask for the timeline (minute-1 vs minute-20), the condition (hot, iced, delivery), and the first visible wet spot. Then I lock the inspection location and build my control plan around that location. That is how I stop guessing.
Product reality: How do hot coffee vs iced coffee change the abuse pattern?
A cup can look perfect on the line, then fail in real use because heat and condensation attack different zones.
Hot coffee pushes heat into the rim and seam; iced coffee adds condensation, cold shock, and long dwell time—so I design for the dominant driver, not a “universal cup.”
Hot vs iced: the same cup sees different physics
| Condition |
Main stress |
Common outcome |
My control focus |
| Hot coffee (to-go) |
Heat + steam at rim |
Rim softening, lid slip, seam drift |
Rim/curl strength + seam stability at temp |
| Iced coffee |
Condensation + cold shock |
Wall softening, print scuff, leakage after dwell |
Moisture resistance + stiffness retention |
| Delivery |
Compression + vibration |
Oval cups, lid walk, rub damage |
Stack strength + fit + pack-out rules |
From our daily packaging work, we see that “dwell time” is the silent multiplier. A hot cup used in 5 minutes is a different world from a cup that sits 30 minutes in a delivery bag. I also watch the top zone because hot lids and hot rims interact. If the rim loses stiffness, the lid bead no longer holds the same way. For iced coffee, I treat condensation like continuous moisture exposure. It changes friction, softens board, and makes stacking damage show earlier. That is why I ask how the drink is served, how long it sits, and whether it goes into delivery. Then I tune the build to that exact path.
Cup build basics: How do GSM and coating type decide whether “thicker” still fails?
Many buyers solve everything with “higher GSM,” then see warping and soft walls anyway.
I do not start with thickness. I start with coating type/weight and stiffness retention at temperature, because a thick board can still warp if bonding cannot hold.
What I decide before I say “increase GSM”
| Decision |
What can fail if wrong |
My check |
| Board stiffness at hot/cold |
Wall softening, oval deformation |
Stiffness trend after dwell |
| Coating type + weight |
Moisture ingress, seam/bottom drift |
Condensation exposure + leak trend |
| Bonding stability |
Warping, curl distortion |
Heat/moisture cycle + dimensional checks |
In real manufacturing, thickness alone does not protect the seam or the rim. A thicker board can store more stress and show larger warpage when temperature and humidity change. From a production standpoint, this matters because the line can run “fine” while the cup drifts after packing. I focus on how the structure behaves at the actual use temperature. I also watch coating continuity near high-stress zones, because small coating variation can change how the seam holds. If a cup is for iced coffee, I bias toward moisture resistance and stiffness retention. If it is for hot coffee, I bias toward rim stability and top-zone performance. Then I choose GSM as a tool, not the answer.
Rim & curl system: How do I prevent lid leaks, rim collapse, and mouth-roll softening?
Most “leaks” that customers feel first happen at the top—especially under heat and sip pressure.
I treat the rim as a system: curl geometry, rim compression strength, and lid fit decide most first-contact failures.
Rim controls that stop lid-related failures
| Rim risk |
What it causes |
What I control |
How I verify |
| Rim softening |
Lid loses grip, drips at sip |
Rim compression strength |
Hot dwell + lid fit drift check |
| Curl distortion |
Uneven lid seal |
Curl geometry consistency |
Top-zone dimensional sampling |
| Top-zone warp |
False “lid leak” complaints |
Top-zone flatness |
Stack load + heat exposure |
From our daily packaging work, we see that lid complaints often mask rim drift. If the rim changes shape after heat exposure, the lid can “feel closed” but seal unevenly. That creates a slow drip during sipping or tilt. I also include the lid as part of validation, because a good rim with a mismatched lid will still fail. From a production standpoint, this matters because small top-zone warpage can come from process settings and stacking, not from the board name. I confirm that the curl holds its geometry after dwell, and I confirm that lid fit stays stable after compression and vibration. If the rim stays stiff, the rest of the cup has a much easier job.
Side seam & bottom seal: Where do leaks actually start under heat + ice abuse?
Some cups do not leak on day one, then start weeping after time, heat, or condensation exposure.
Most “mystery leaks” start at interfaces: side seam overlap, bottom knurl, and transition zones where stress concentrates.
Leak start points I check first
| Zone |
Failure pattern |
Why it shows later |
My countermeasure |
| Side seam overlap |
Slow weeping line |
Adhesion drifts with heat/moisture |
Process window + overlap consistency |
| Bottom knurl |
Base seepage |
Long dwell + pressure amplifies weak spots |
Knurl integrity + stack-load validation |
| Transition edges |
Spot leaks |
Stress concentrates at geometry changes |
Stress-first tests + defect mapping |
Heat and moisture change adhesion and stiffness, so small defects that are invisible at packing can become real leaks later. In real manufacturing, this detail often determines whether returns spike in delivery channels but not in-store. I measure trends, not just pass/fail. I want to see whether seam integrity drifts after dwell and whether bottom seals change after compression. From a production standpoint, this matters because seam/bottom failures can be created by stacking and transport, not only by machine setup. I also ask how customers carry the cup and whether it sits in a tight car cup holder. Those external constraints add pressure at the base and side wall, which amplifies weak zones.
Fit & route stress map: How do lids, sleeves, carriers, and delivery abuse deform cups?
A cup can pass in a lab, then fail in delivery because carriers squeeze, stacks lean, and vibration walks lids loose.
I include handling hardware and route stress in the spec, because “in-store OK” can still fail in delivery under compression, vibration, and thermal cycling.
Where deformation really comes from
| Stress source |
What it does |
What it triggers |
What I control |
| 4-cup carrier squeeze |
Ovalizes the cup wall |
Lid lift, side seam strain |
Wall stiffness + carrier fit rules |
| Carton/bag compression |
Loads the rim and top zone |
Rim drift, lid walk |
Stack strength + top-zone flatness |
| Vibration in delivery |
Creates micro-slip |
Lid loosening, rub scuff |
Fit + friction + pack-out protection |
| Thermal cycling |
Changes stiffness over time |
Warping, leakage drift |
Material behavior verification |
From a production standpoint, this matters because the “cup” is not used alone. The lid, sleeve, and carrier define how forces enter the structure. If the sleeve is too tight, it can trap moisture and soften the wall faster for iced coffee. If the carrier squeezes the cup, the rim becomes oval and the lid bead loses uniform contact. In real manufacturing, this detail often determines whether complaints happen only in delivery. I map the route stress timeline: stacking load in back-of-house, movement in a bag, vibration in a vehicle, and temperature swing. Then I write pack-out rules that prevent rub points and pinch points. I do not accept a spec that works only in “gentle handling.”
Request a coffee cup spec review if your cups pass in-store but fail in delivery.
Validation + spec options: What stress-first tests do I run, and how do I shortlist 2–3 cup builds?
If I only test a single cup on day one, I miss the slow failures that show up after real stacking and time.
My validation unit is cup + lid + sleeve + carton. I run stress first, then measure leak trends, rim fit drift, and deformation—then I deliver Baseline/Upgrade/Premium with clear failure risks.
My stress-first validation checklist
| Test block |
What I apply first |
What I measure after |
Why it matters |
| Stack load |
Real stack height + dwell time |
Rim drift, ovalization, base seepage |
Finds deformation-driven leaks |
| Vibration |
Vibration with lid + sleeve + carrier |
Lid walk, rub scuff, seam weeping |
Finds delivery failures |
| Heat/moisture exposure |
Hot dwell or condensation exposure |
Stiffness drop, leak trend, fit drift |
Finds time-based drift |
How I shortlist Baseline / Upgrade / Premium (and what can still fail)
| Package |
Best for |
Main controls |
What can still fail |
| Baseline |
Normal service, short dwell |
Stable rim fit + seam/bottom integrity |
Delivery squeeze or long iced dwell |
| Upgrade |
Delivery + iced condensation |
Higher stiffness retention + route stress fit rules |
Extreme stacking load without pack-out control |
| Premium |
High complaint risk channels |
Locked process window + QC gates + system validation |
Customer changes lids/carriers without revalidation |
In real manufacturing, this detail often determines whether performance holds at scale: the test sequence. I do not “test then ship.” I ship in the lab first. I apply stack load, vibration, and temperature/moisture exposure before I judge sealing and fit. From a production standpoint, this matters because slow drift is what creates refunds and reputation damage. Once a package passes, I lock the spec with measurable QC points and change-control rules, because one small change in lid, sleeve, or packing can bring failures back.
Conclusion
I stop coffee cup failures by defining the exact leak mode, controlling rim/seam systems, and validating cup + lid + sleeve + carton under real route stress. Contact me for a spec that scales.
Get a Custom Coffee Cup Spec
FAQ
| Question |
Short answer |
| Can one paper cup work for both hot coffee and iced coffee? |
Sometimes, but I only approve it after heat + condensation + dwell testing shows stable rim fit and no seam drift. |
| Why do cups leak only in delivery but not in-store? |
Delivery adds compression and vibration that ovalize cups and “walk” lids, which reveals small rim or seam weaknesses. |
| Why does “higher GSM” not always fix soft cups? |
Coating, bonding stability, and stiffness retention at temperature matter; thickness alone can still warp or drift. |
| What is the fastest way to diagnose a leak complaint? |
I identify the first wet location (rim, seam, bottom) and the timeline (minute-1 vs minute-20) before changing specs. |
| What should I send you for quoting the right coffee cup? |
Drink type (hot/iced), dwell time, lid model, carrier type, delivery vs in-store, and your current failure photos. |
About Jinyi
Jinyi — From Film to Finished—Done Right. Website: https://jinyipackage.com/
I run a source manufacturing team for custom packaging. I focus on process control, repeatability, and real-world performance. I help brands reduce communication costs, achieve predictable quality, and ensure packaging performs reliably in transit and at end use.