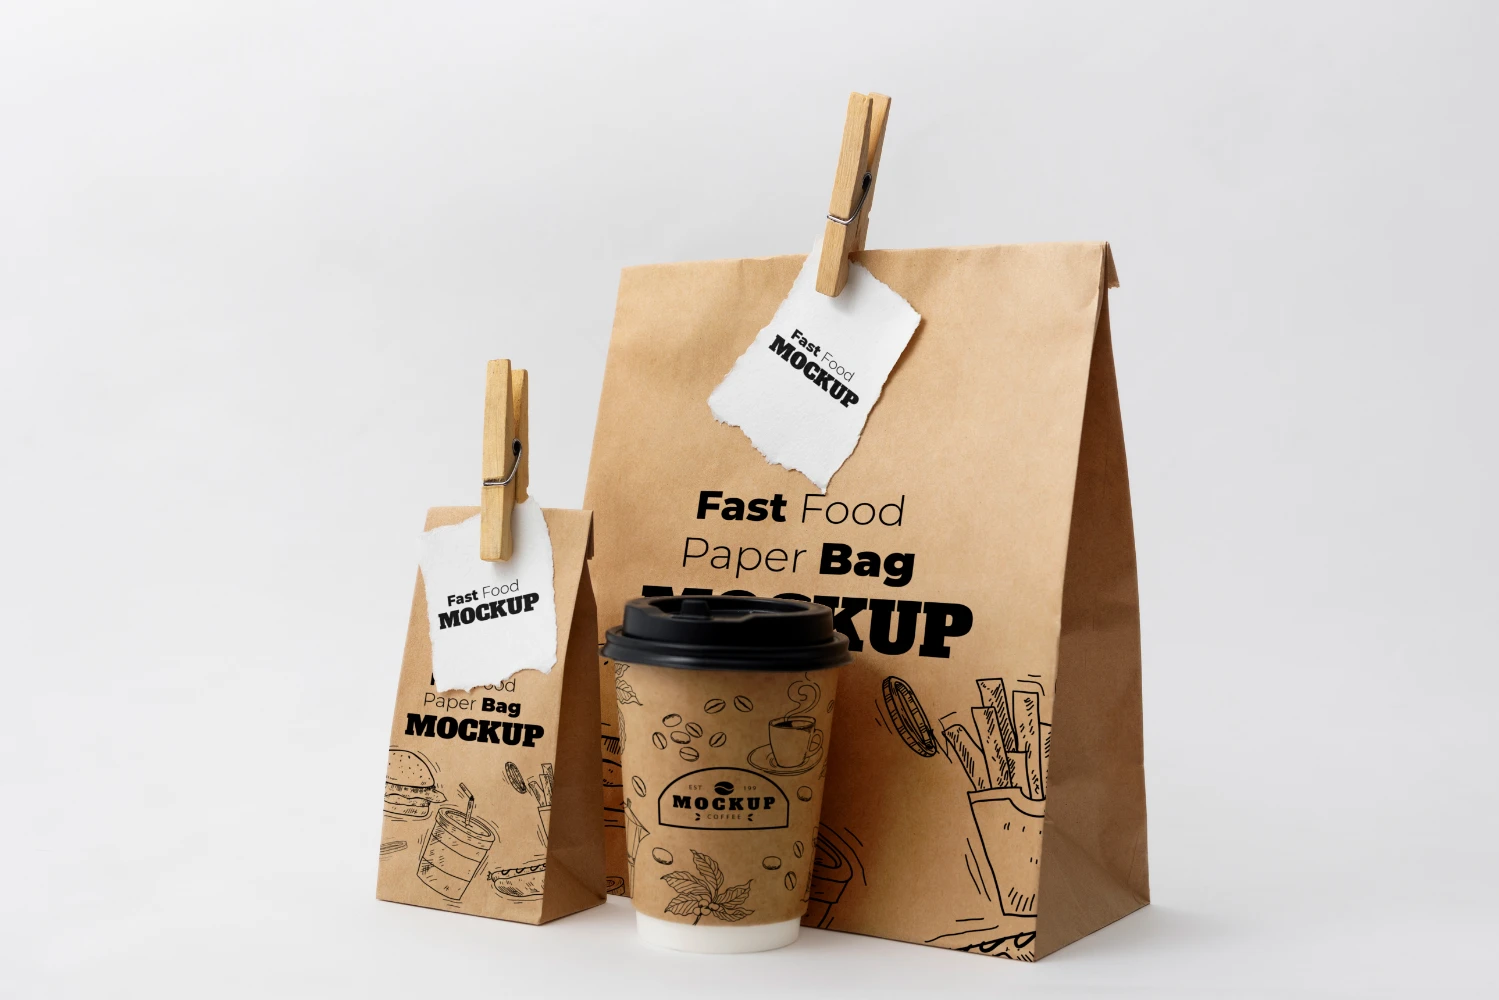
Your drink looks great at pickup. Then the bag gets wet, the print scuffs, and the handle feels cheap. Customers notice fast. They complain faster.
I match paper cups and custom gift bags by treating them as one delivery system. I define what “premium” means in the customer’s hands, then I lock fit, manage friction (COF), protect the seal system, and validate route stress so I reduce spills, scuffs, and packing downtime without extra waste or extra steps.
Paper cups that feel premium still fail if the lid and carry setup cannot survive real route stress—this is what I check first.

I do not chase “thicker” as my first answer. I chase control. I want the cup to stay upright, the bag to stay clean, and the workflow to stay smooth. If I get those three right, the unboxing feels premium without extra.

Define “Premium” First: What Customers Actually Notice (and What They Don’t)?
If I do not define “premium,” I will spend money in the wrong place. I will overbuild paper weight, add inserts, and still get wet bottoms and scuffed prints.
I define premium as stability, cleanliness, and comfort. Customers notice a steady carry, a clean first look, and a bag that does not collapse or smear. They do not notice most “spec upgrades” if the system still leaks or tips.
The premium checklist I use before I touch materials
| What customers notice |
What it looks like |
What usually causes failure |
What I control first |
| Clean first look |
No stains, no scuffs |
Micro-leaks, print rub |
Seal window + COF management |
| Stable carry |
No tilt, no slosh |
Loose fit inside bag |
Cup-to-bag geometry |
| Comfort in hand |
Handle feels safe |
Handle tear, sharp tension points |
Handle placement + load path |
I also split channels. Delivery buyers hate wet bottoms and sticky hands. Gift buyers hate scuffed graphics and deformed bags. I use those complaints as design targets. I do this because “premium” is not a mood. It is a set of predictable outcomes. If I do not name them, I cannot validate them.
Start With Fit: Cup-to-Bag Geometry, Headspace, and Why Size Matching Prevents Spills?
A premium bag and a premium cup can still create a cheap experience if the fit is wrong. A loose fit makes the cup tip. A tight fit pushes the lid and can trigger micro-leaks.
I start with cup-to-bag geometry, not paper thickness. I check headspace, base width, and how the center of gravity moves when the customer walks or when a courier stacks orders.
The fit rules I use to keep cups upright inside gift bags
| Fit element |
What can go wrong |
Customer-visible result |
My fix |
| Headspace (cup height vs bag height) |
Lid gets pushed from the top |
Leaks, pop-offs |
Leave safe headspace; avoid “lid contact” |
| Base width (bag bottom vs cup base) |
Too loose: sliding; too tight: squeezing |
Tip, scuff, wet bottom |
Match base so the cup sits centered |
| Multi-cup layout |
Center of gravity shifts |
One cup tips the other |
Use spacing or simple separators |
I treat size matching as center-of-gravity control. If the cup rocks, slosh increases. If slosh increases, lid stress increases. Then leakage risk rises even if the seal system is good. This is why I want the cup to “seat” inside the bag instead of “float.” I can often reduce spill complaints with geometry alone, without adding extra components.
Route Stress Mapping: Spills, Scuffs, and Handle Tear Under Compression & Vibration?
Most brands test at the counter. The channel tests on the road. Compression, vibration, and thermal cycling will find your weak point.
I map route stress across the whole set: lid, bag bottom, handles, and print surfaces. I do not assume the weakest point is the cup. I assume the weakest point is the interface between items.
How route stress attacks cups and bags as one system
| Route stress |
What it does to the set |
Most common failure |
What I reinforce |
| Compression |
Loads the lid and creases the bag |
Seal disturbance, bag deformation |
Headspace + bag structure control |
| Vibration |
Creates slow tilt and rubbing |
Pop-offs, scuffs |
Fit + COF balance |
| Thermal cycling |
Condensation softens paper and adds slip |
Wet bottom, handle stress |
Bottom integrity + contamination control |
I also watch how orders get stacked. When bags compress, lids can get a constant side load. When bags rub, prints scuff. When bottoms get damp, tear risk rises. These are not separate problems. They are one route stress story. If I design for that story, the unboxing feels premium when it matters most: at the customer’s door.

Friction & COF: How I Prevent Slide, Tip, and Print Scuff Inside the Bag?
Customers call it “cheap” when the bag looks messy inside. That mess often comes from friction problems, not from weak materials.
I manage COF so the cup stays put without grinding the print. If the inner bag surface is too slick, the cup slides and tips. If it is too “grippy,” the cup rubs and scuffs graphics.
Custom gift bags look premium when the inside controls friction and contact points, not when the paper is simply thicker.
| COF situation |
What happens |
What customers see |
What I do |
| COF too low (too slippery) |
Cup slides and tips |
Spills, wet bottom |
Add simple positioning folds or base fit |
| COF too high (too rough) |
Rubbing increases |
Scuffed print, dusty look |
Reduce contact area; guide the cup position |
| COF inconsistent (batch drift) |
Random outcomes |
Unpredictable complaints |
Incoming checks + small-batch validation |
I prefer structural control over extra materials. I use simple folds, positioning features, or layout rules to reduce sliding. I also limit where surfaces touch. I want “fit but not grind.” This is the quiet part of premium. Customers do not say “the COF is correct.” They say “it looks clean.” That is the goal.
Seal System & Lid Choice: My Leak-Prevention Rules Before I Upgrade Materials?
A premium bag cannot survive a single leak. One micro-leak can turn the bottom soft, smear the print, and make the handle feel unsafe.
I treat the paper cup + lid as a seal system. I care about the seal window, the closing method, and seal contamination. I do not start with “stronger lid plastic.” I start with a process that seats the lid fully every time.
My seal window rules for paper cups in real service
| Seal factor |
What goes wrong |
What it looks like |
What I change first |
| Closing force and angle |
Half-seated lids |
Slow seep, sudden pop-off |
Define force range; train angle |
| Speed at peak hours |
Seal window narrows |
Random leaks |
Add a simple “seat check” step |
| Seal contamination |
Seal path breaks |
Micro-leaks after delivery |
Keep rim clean; manage condensation |
I see the same pattern: the cup passes the counter test, then fails after a short ride. That is because route stress amplifies small defects. If I control contamination and make the closing method repeatable, I reduce micro-leaks. Then the gift bag stays clean. This is why I treat the seal system as the first line of defense for premium unboxing.
Operational Reality: How I Reduce Packing Downtime Without Overbuilding the Set?
Premium that slows down the line is not premium. It is friction disguised as branding.
I design the cup-and-bag set for fast packing. I reduce steps, reduce rework, and keep the workflow consistent across staff and shifts.
Where packing downtime comes from and how I remove it
| Downtime trigger |
What staff does |
Why it happens |
My fix |
| Bag collapses |
Fights the opening |
Structure mismatch |
Right bag geometry; stable mouth opening |
| Fit too tight |
Forces the cup in |
Headspace is wrong |
Adjust height/width; avoid lid contact |
| Extra tape/fillers |
Adds steps and waste |
No positioning control |
Use fit and layout to stabilize |
I aim for a boring packing motion. Staff should not “think” about the bag. They should not re-seat lids. They should not add random fillers. If I need extra steps to make it work, the system is not matched yet. When the workflow is smooth, the unboxing is also smoother. That is the hidden link between operations and premium perception.
A Practical Validation Plan: The Tests I Run Before a Bigger Batch (Cups + Bags Together)?
If I test cups alone, I miss scuff and wet-bottom issues. If I test bags alone, I miss seal failures. I need a combined plan.
I validate the cup-and-bag set as one unit with repeatable tests. I want tests that predict complaints before I scale a bigger batch.

| Test |
What it targets |
How I run it |
Pass signal |
| Inverted hold + light shake |
Micro-leaks |
Standard time + motion |
No seep; bag bottom stays dry |
| Walk and stair test |
Real carry tilt |
Fixed route with full load |
Cup remains upright; no slosh-driven leaks |
| Stack compression |
Delivery stacking |
Weighted stack for set time |
Lid stays seated; print not crushed |
| Vibration exposure |
Route stress loosening |
Controlled vibration window |
No progressive loosening; no scuff bloom |
| Thermal cycling |
Condensation + softening |
Cold to ambient to cold |
Bottom integrity holds; handle feels safe |
I keep this plan simple so teams can run it weekly or when a supplier lot changes. I want a comparison, not a one-time “demo.” If the results drift, I know where to look: fit, seal window, COF, or handle load path. That is how I avoid learning through customer complaints. It also helps me avoid “extra.” I do not add inserts or fillers unless the validation proves the system needs it.
Conclusion
I match paper cups and gift bags by controlling fit, COF, and the seal system, then validating route stress—so the unboxing stays clean and stable without extra waste or steps.
Talk to JINYI about matching paper cups and gift bags for your next run
FAQ
What does “premium unboxing” mean for a paper cup and gift bag set?
For me, it means the cup stays stable, the bag stays clean, the print stays sharp, and the handle feels safe—especially after real route stress like stacking, vibration, and condensation.
Why do customers complain about spills even when the lid seems tight?
Spills often come from fit and movement inside the bag. If the cup tips or the lid gets pushed by low headspace, route stress can turn a marginal seal into micro-leaks.
How do I prevent print scuff on cups and bags without adding extra packaging?
I manage contact points and COF. I use fit and simple positioning features to stop sliding, and I reduce rubbing surfaces so prints stay clean.
What is the seal window for paper cup lids?
The seal window is the process range where lids seat fully and consistently across force, speed, and angle. If the seal window is too narrow, downtime and random leaks increase.
What is the simplest combined test plan before scaling a bigger batch?
I run a combined routine: inverted hold, walk test, stack compression, vibration exposure, and thermal cycling. I keep it repeatable so I can compare lots and predict complaints early.