Your coffee bag can look perfect and still bulge, leak aroma, or show lifted valve stickers after shipping. Those failures cost you freshness, shelf trust, and rework.
I prevent valve sticker failures by treating them as a system decision: I define the failure mode first, then I lock placement away from stress zones, control adhesion inputs (surface, COF, contamination), and validate with stress-first tests on the real setup (pouch + coffee + case) before I scale.
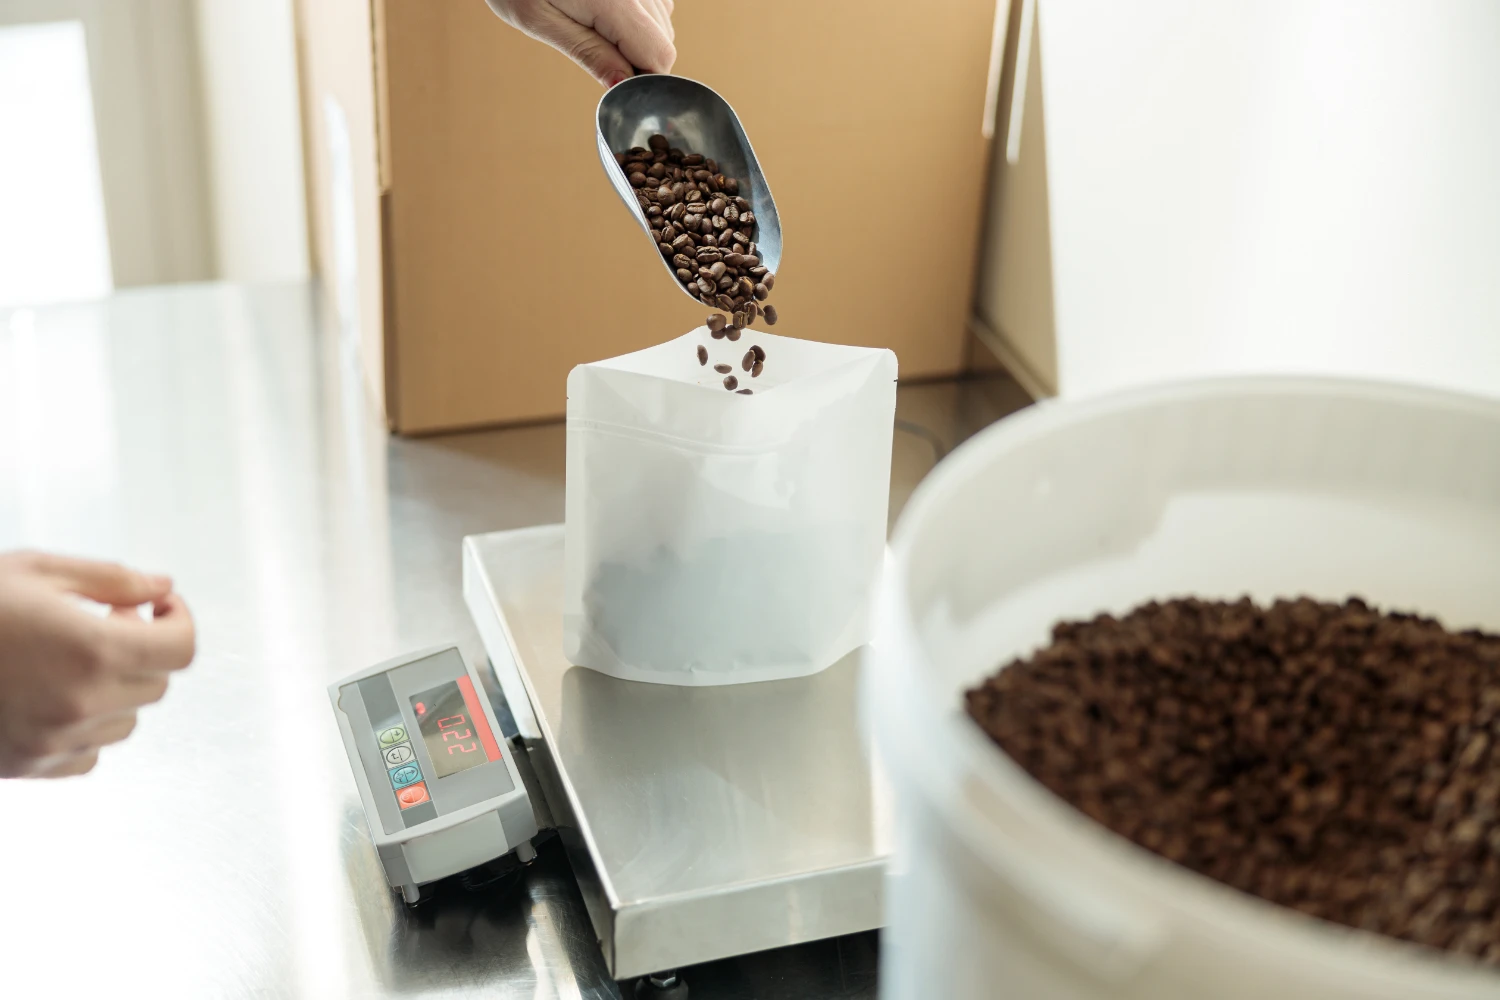
Choose a coffee-ready pouch format first (this avoids sticker backfires later)

I do not start with “stronger glue.” I start with what the market punishes: bulging, slow micro-leaks, odor loss, and lifted stickers that make a bag look cheap. Then I convert those risks into parameters my production line can repeat.
What do “valve sticker problems” actually look like in the market?
Most brands do not get one clean failure. They get a messy mix: bulging on arrival, weak aroma in week 3–4, lifted sticker edges, scuffed panels, and complaints that feel random.
I define the failure mode first because each symptom points to a different root cause. Bulging is often CO₂ venting mismatch. Odor loss is often slow micro-leak. Sticker lift is often surface, contamination, or route stress. If I do not name the failure, I cannot control it.
How I translate complaints into controllable failure modes
| What the customer says |
What it usually means |
What I control |
| “The bag arrived puffed up.” |
CO₂ venting rate mismatch or valve path restriction |
Valve function check + placement away from pinch zones |
| “Aroma is weaker after a few weeks.” |
Slow micro-leak or higher oxygen exposure |
Seal system stability + stress-first leak checks |
| “Sticker edges lift / peel.” |
Surface energy, contamination, or abrasion under vibration |
Surface prep + COF + pack-out contact points |
| “Looks premium in photos, looks cheap on arrival.” |
Scuffing, gloss shift, crease whitening, sticker damage |
COF control + carton fit + handling rules |
| “Barcode won’t scan.” |
Scuffing or deformation in the print zone |
Placement rules + pack-out protection |
Why I refuse to “fix everything” with one material choice
In real manufacturing, this detail often determines whether you solve the problem or just move it. If I only upgrade film or only upgrade glue, I might improve one symptom but worsen another. For example, a rougher surface can reduce slip but increase scuff. A higher-tack adhesive can grab dust and create ugly edges. That is why I start with failure definition, then I build controls that match that failure mode.
How does coffee behavior (CO₂, oils, fines) change valve sticker risk?
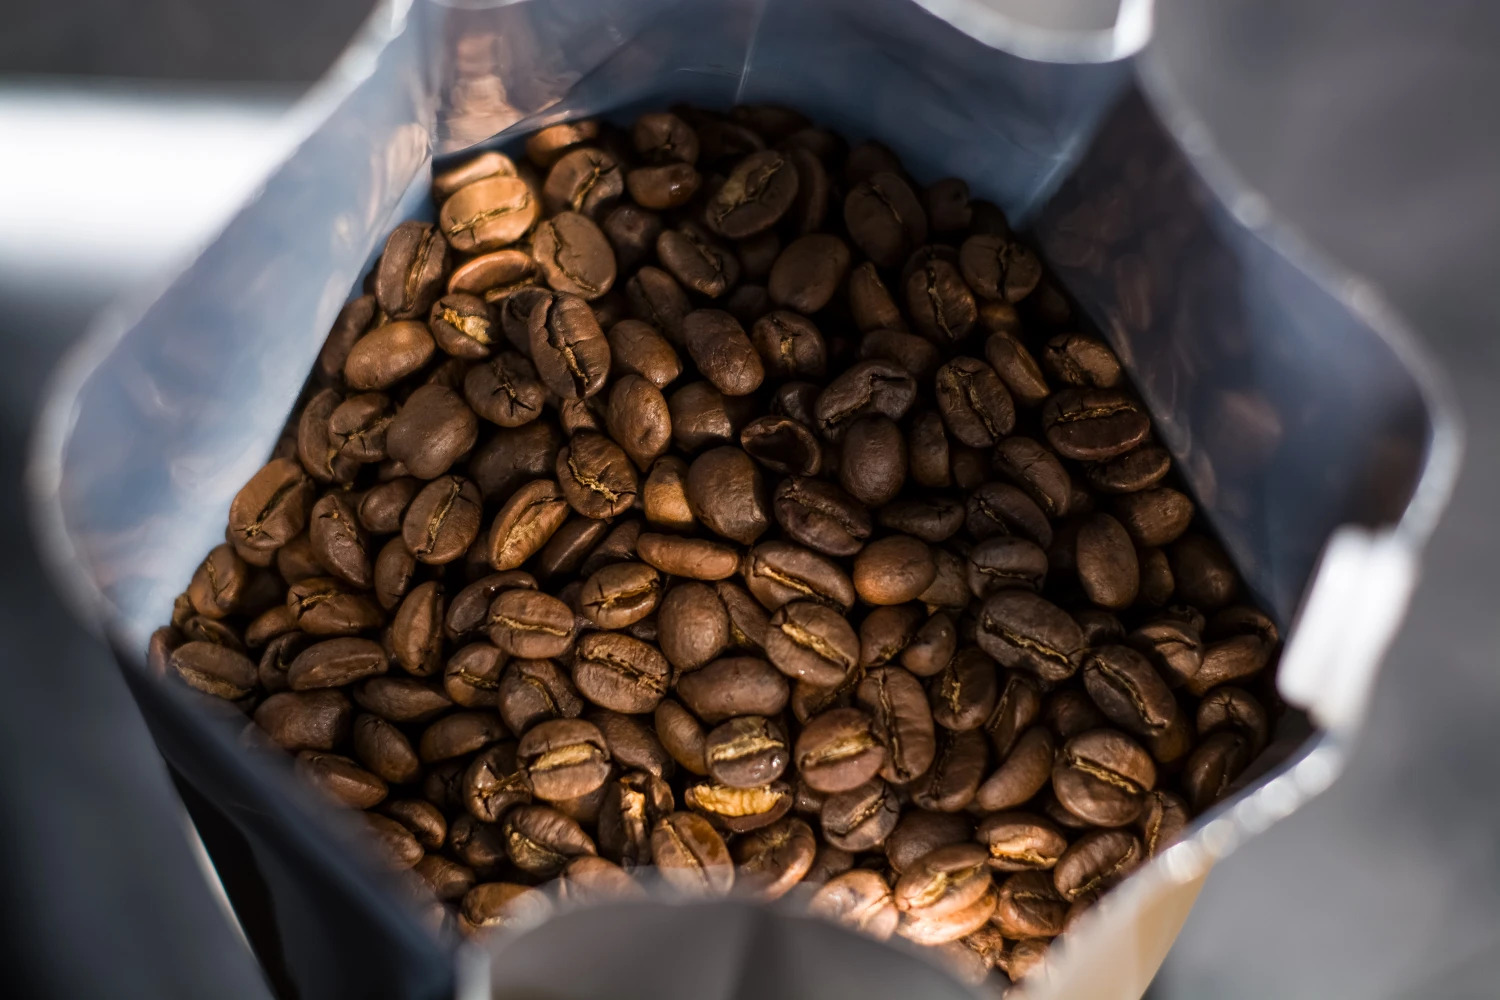
Coffee is not a passive product. It produces gas. It carries oils. It sheds fines. All three can interfere with both valve performance and sticker adhesion.
I map coffee behavior into risk paths: CO₂ drives bulging pressure, oils can reduce bond stability over time, and fines can contaminate seal and sticker zones. That is why “day-1 looks fine” can still turn into week-4 complaints.
CO₂ is a pressure problem, not a “looks” problem
Freshly roasted coffee releases CO₂. If venting is restricted or inconsistent, pressure builds. From a production standpoint, this matters because pressure changes where your bag gets stressed. The panel pushes, the gussets shift, and contact points inside the carton become more aggressive. That is how bulging and scuffing can escalate together.
Oils and fines are adhesion enemies you cannot ignore
Oils can migrate. Fines can float. Both can land where you do not want them: near valve holes, near sticker edges, and near seals. From our daily packaging work, we see that teams often blame the sticker when the real trigger is contamination control during filling and handling. I design the process so the bond is not fighting oil films and dust from day one.
What I ask before I recommend anything
| Coffee reality |
Why it matters |
What it changes |
| Roast level and degas speed |
Changes gas release pattern |
Valve function check and route-stress plan |
| Whole bean vs ground |
Changes fines and dust risk |
Contamination controls near valve and seal zones |
| Oiliness and aroma sensitivity |
Amplifies slow oxygen exposure |
Micro-leak focus and storage-time validation |
Where do I place the coffee degassing valve sticker so it does not backfire?
Placement looks simple until you ship. Then the carton compresses, the bag slides, and the “safe” area becomes a high-stress area.
I place the valve sticker where it avoids seal stress zones, avoids fold stress zones, and avoids carton contact points. I protect both function (venting) and shelf appearance (no lifting, no scuff-driven peel).
The three zones I avoid first
| Zone |
Why it is risky |
Common outcome |
| Near top seal and zipper area |
Seal system pressure changes, heat exposure, and handling stress |
Micro-leak risk or sticker edge damage |
| On fold lines or high-crease areas |
Repeated bending creates peel forces |
Lifted edges or crease whitening around the sticker |
| Carton contact points |
Vibration creates abrasion at touch points |
Scuff, gloss shift, and progressive peel |
My placement decision is not only about venting
Venting matters, but the market judges the bag first. In real manufacturing, this detail often determines whether you get consistent output or constant adjustments. If I place the valve where operators touch the bag most, I increase contamination and handling damage. If I place it where cartons rub, I increase scuff and peel. So I choose placement that survives route stress and still vents correctly.
Why is adhesion a system problem (film surface, COF, contamination), and why do stickers lift?
Sticker lift looks like an adhesive failure, but it is often a surface and process failure. Glue is only one variable.
I control adhesion by controlling the inputs: film surface condition, COF-driven abrasion, contamination from oils and fines, and moisture from condensation. If I do not control these, the sticker will lift no matter how “strong” the adhesive sounds.
Four root causes I check before I blame the sticker
| Root cause |
What it looks like |
What I do |
| Surface condition mismatch |
Early lift even before shipping |
Confirm surface readiness and consistent application conditions |
| High abrasion from COF behavior |
Edge wear and scuff that grows over time |
Map carton contact points, reduce rub zones, protect print zones |
| Contamination (oils, fines, dust) |
Patchy bond, dirty edges |
Clean handling rules and fill discipline |
| Condensation / moisture cycling |
Lift after temperature swings |
Thermal cycling validation and storage checks |
Why COF matters more than people expect
COF changes how bags slide, rub, and scuff. From our daily packaging work, we see that a “good bond” can fail if vibration creates repeated micro-rubbing at sticker edges. That rubbing does not need to be dramatic. It only needs to be consistent. That is why I always connect adhesion to route stress and pack-out, not only to adhesive labels and datasheets.
How can a valve sticker create new micro-leak paths through the seal system?
Valve sticker work adds a hole, a patch, and a thickness change. That is enough to create new failure paths if the seal system is not stable.
I treat the valve sticker as a new interface in the seal system. It can change local stiffness, create uneven pressure zones, and increase the risk of micro-channels if my seal window, hot tack, seal land width, and cooling are not controlled.
What can go wrong when the interface changes
| Change introduced by valve sticker |
Why it matters |
Typical failure |
| Local thickness variation |
Pressure distribution can shift nearby |
Micro-channels and slow micro-leaks |
| Hole + patch interface |
Edge is a stress concentrator |
Leak path grows after cycling |
| Early handling before full set |
Hot tack and cooling become critical |
Hidden damage that shows up in week 3–4 |
Why I lock seal system controls before I scale
In real manufacturing, this detail often determines whether you get stable output or recurring “mystery” complaints. If I have a narrow seal window, operators will chase settings. If my hot tack is short, early compression will damage interfaces. If cooling is short, the bond and seals do not fully settle before handling. So I lock these controls first and confirm that the valve sticker work does not create new micro-leak behavior.
What happens to valve stickers under route stress in e-commerce, retail, and warehouses?
Different channels punish different weaknesses. E-commerce punishes abrasion and drops. Warehouses punish stacking pressure. Retail punishes shelf appearance.
I match the test plan to the channel: compression for stacking, vibration for shipping abrasion, drops for parcel handling, and thermal cycling for climate swings. I also include case fit checks because many sticker failures are grown inside cartons.
From a production standpoint, this matters because pack-out decisions often change your real failure rate more than the sticker itself.
Channel stress mapping for valve sticker failures
| Channel |
Main stress drivers |
Valve sticker risk |
| E-commerce |
Vibration + drops + rub zones |
Edge scuff and peel, cosmetic downgrade |
| Retail distribution |
Stacking + handling + shelf rub |
Lifted edges, gloss shift, “cheap look” |
| Warehouses |
Compression + long dwell time |
Deformation that increases rub and interface fatigue |
Why case fit is part of sticker performance
If the carton is tight, corners pinch and panels press into contact points. If the carton is loose, bags move and rub. Both can destroy shelf appearance. From our daily packaging work, we see that many “adhesive failures” are actually carton geometry failures. That is why I do not validate valve stickers without validating pack-out.
What is my validation checklist before mass production (pouch + coffee + case)?
I do not validate a valve sticker on a single empty bag. I validate the full system. That is how I catch slow micro-leaks and cosmetic peel before the market does.
I run stress-first tests, then I check valve function, adhesion trend, and leak trend. I include the real coffee and the real carton because that is where slow failures are born.
My stress-first checklist (what I run and what I record)
| Check |
How I run it |
Pass criteria I care about |
| Valve function sanity check |
Confirm venting pathway is clear and consistent |
No abnormal bulging and stable vent behavior |
| Adhesion trend |
Record edge lift tendency before and after stress |
No progressive peel after vibration and handling |
| Micro-leak trend |
Stress first, then check seal integrity trend |
No drift that correlates with stress exposure |
| Pack-out contact points |
Inspect rub zones inside carton |
No sticker edge scuff zone forming |
| Thermal cycling sensitivity |
Cycle storage conditions that match route reality |
No new lift or leak behavior after cycling |
Why I always run “pouch + coffee + case” together
In real manufacturing, this detail often determines whether your launch is calm or chaotic. If I validate only the pouch, I miss contamination. If I validate only the sticker, I miss COF-driven scuff. If I validate only the valve function, I miss case-fit pinch points. That is why I test the real system. It is the fastest way to expose failures before scale, and it protects OEE by preventing rework loops.
If your coffee line is speed-first, side gusset formats can be easier to stabilize
How do I shortlist Baseline / Upgrade / Premium options for valve sticker coffee bags (and what can still fail)?
I keep the shortlist small. I give you options that are testable and scalable. Each option includes the most likely failure, the test that exposes it, and the production controls that keep it stable.
I shortlist 2–3 specs by locking seal system stability first, then tuning placement and adhesion inputs, then validating under route stress with real case fit. That is how I avoid week-4 surprises and protect shelf appearance.
Baseline: stable and hard to mess up
Most likely failure: edge lift from carton rub zones or contamination during filling.
How I test: vibration + handling simulation, then adhesion trend check. I inspect pack-out contact points.
How I control at scale: I keep placement out of rub zones, standardize handling, and add a simple in-line check for sticker edge condition.
Upgrade: for higher aroma sensitivity and tougher routes
Most likely failure: slow micro-leak behavior that shows up as week-4 aroma drop.
How I test: stress-first leak trend check plus thermal cycling. I confirm valve function stays consistent.
How I control at scale: I widen the effective seal window, protect hot tack during early compression, and standardize cooling and handling timing.
Premium: for harsh channels and low tolerance for returns
Most likely failure: combined stress damage that escalates peel and cosmetic downgrade, plus case-fit pinch points.
How I test: full system validation with the real carton and pack pattern, plus a longer stress sequence.
How I control at scale: I lock pack-out rules, reduce rub zones, and maintain repeatable process control so OEE stays stable.
Conclusion
I keep valve stickers reliable by locking placement, controlling adhesion inputs, and proving performance with stress-first system tests—then I scale with repeatable checks. Contact me to build the right spec.
Get a Coffee Pouch Spec That Stays Stuck and Stays Fresh
FAQ
1) Where is the safest placement for a coffee degassing valve sticker?
I place it away from top seals, fold stress lines, and carton rub zones. I confirm venting still works, then I validate under route stress with the real pack-out.
2) Why do valve stickers lift even when the adhesive is “strong”?
Sticker lift is often driven by surface condition, contamination from oils or fines, COF-driven abrasion, and thermal cycling. Adhesive strength alone does not control these inputs.
3) Can a valve sticker cause micro-leaks?
It can introduce new interfaces and local stiffness changes. If the seal system is not stable, micro-channels can form and show up later as slow aroma loss.
4) What tests catch week-4 aroma complaints before launch?
I run stress-first tests, then check leak trend and adhesion trend. I add thermal cycling when the route includes temperature swings, and I always include the real carton.
5) Should I choose side gusset or stand-up pouches for valve sticker coffee bags?
It depends on your filling speed, shelf goals, and route stress. I typically shortlist both formats and validate with the same stress-first system tests before recommending one.
About Me
Brand: Jinyi
Tagline: From Film to Finished—Done Right.
Website: https://jinyipackage.com/
Our Mission:
JINYI is a source manufacturer specializing in flexible packaging. I deliver packaging plans that are reliable, usable, and scalable. I help brands reduce communication costs, get predictable quality, clear lead times, and structures/print outcomes that match the real product and channel.
About me:
JINYI is a source manufacturer specializing in custom flexible packaging solutions, with over 15 years of production experience serving food, snack, pet food, and daily consumer brands.
We operate a standardized manufacturing facility equipped with multiple gravure printing lines as well as advanced HP digital printing systems, allowing us to support both stable large-volume orders and flexible short runs with consistent quality.
From material selection to finished pouches, we focus on process control, repeatability, and real-world performance. Our goal is to help brands reduce communication costs, achieve predictable quality, and ensure packaging performs reliably on shelf, in transit, and at end use.