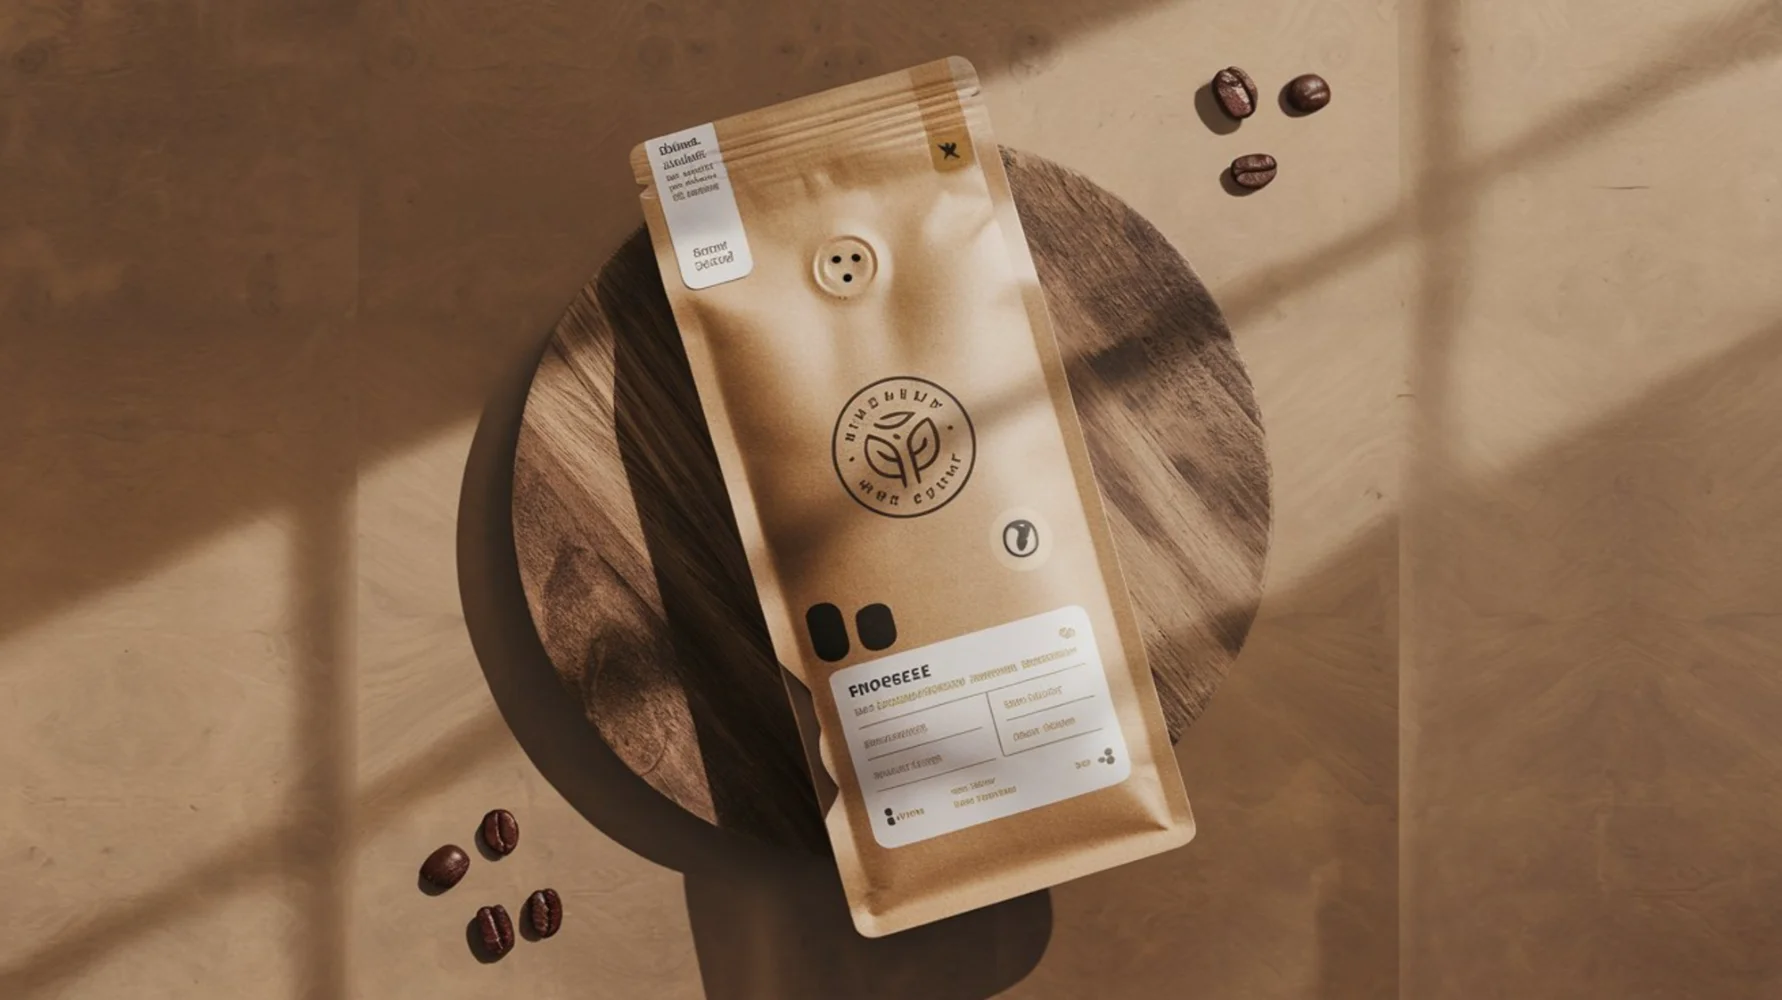
Your coffee valve can work perfectly in the factory and still create leaks and ugly scuffs after shipping. Most of the time, the placement is the real trigger.
I place the valve sticker where the bag stays flat, stays off the seal system, and stays out of carton rub. I avoid fold lines, pressure shadows, and any zone that gets crushed or sheared in transit.

If your stand-up pouch is getting valve-zone leaks or the sticker edge keeps scuffing the print, start with the pouch design and handling reality:
see stand-up pouch structures I build for real shipping.
I do not treat the valve as a decoration. I treat it as a hard point that changes stress, friction, and sealing risk. When I choose placement with that mindset, returns drop and shelf appearance stays clean.
Define the Failure First: What “Valve Sticker Problem” Really Means (Leaks, Wrinkles, Scuffs, or Returns)?
People say “the valve sticker has issues,” but that phrase hides different failures. If I do not define the failure, I will fix the wrong thing.
I separate leak complaints from scuff complaints and from wrinkle complaints. Then I decide whether placement is the main lever or whether bonding and pack-out rules are the real lever.
My first diagnostic split so I do not chase the wrong root cause
I start by asking what the customer actually saw. A micro-leak can show up as a flat bag, weak aroma, or a “stale faster than expected” complaint. A scuff problem shows up as hazy patches, scratched print, or a dirty-looking valve zone. A wrinkle problem shows up as buckling around the valve or a crease line that turns into a tiny channel later. From a production standpoint, this matters because the same valve position can be “fine” for one route and disastrous for another. In real manufacturing, this detail often determines whether a simple placement change is enough or whether I must change adhesive pairing and pack-out rules. From our daily packaging work, we see that many teams blame the valve itself when the real trigger is a stress zone that the valve was placed into.
| Complaint |
What it often means |
What I check first |
| Bag loses aroma, feels flat |
Micro-leak path near valve or seals |
Leak test around valve + seal edges |
| Sticker edge scuffs print |
Carton rub + protruding hard point |
Placement vs carton rub path + COF |
| Wrinkles near valve |
Placement on a bending or tension zone |
Fold lines, gusset behavior, pressure shadows |
| Sticker lifts or peels |
Adhesive/surface mismatch or poor cure |
Surface treatment + adhesive pairing |
Degassing Reality: How CO₂ Pressure Loads the Valve Zone and Why Placement Changes Risk?
A valve zone is a working zone. CO₂ degassing loads the area again and again, so placement changes how the film flexes and relaxes.
I place the valve where the panel stays stable under pressure cycles. If I place it on a bending zone, pressure cycles can amplify micro-channels and turn “small issues” into real leaks.
Why the valve zone should not live on a flexing panel
I treat CO₂ pressure as a repeating stress. The bag does not just inflate once and stop. It breathes. That means the valve zone sees small cycles of pull and release. From a production standpoint, this matters because a hard component on a flexing panel can create micro-movement at the bond edge. In real manufacturing, this detail often determines whether a valve stays tight or slowly develops a micro-channel. From our daily packaging work, we see that the safest valve placement is on a panel that stays flat through filling, boxing, pallet compression, and handling. If the valve sits on a panel that folds or buckles, pressure cycles make that fold line work like a crack starter.
| Pouch type |
What flexes most |
My placement intent |
| Stand-up pouch |
Gusset transitions and top zone |
Keep valve on a stable main panel |
| Flat bottom / quad seal |
Edge columns and corner transitions |
Avoid edge columns and corner stress |
| Side gusset |
Gusset fold lines |
Avoid fold lines that crease in cartons |
Keep It Off the Seal System: Why the Top Zone and Seal Edges Are Leak Hotspots?
Seal zones are already sensitive. If I add a hard point too close to them, I create pressure shadows and uneven sealing stress.
I keep the valve sticker away from the top seal, zipper top zone, and all seal edges. I leave a clear safety margin so the seal system stays uniform under vibration and compression.
How pressure shadows create micro-leaks that look “random”
When a valve sticker sits near a seal edge, it acts like a spacer. It changes how the pouch stacks and how pressure distributes in cartons. From a production standpoint, this matters because seal edges are where micro-leaks start first, especially under vibration and repeated compression. In real manufacturing, this detail often determines whether your seal passes in-house pull tests but fails after shipping. From our daily packaging work, we see that the valve does not need to be near the top seal to work. The valve needs stable film around it and a seal system that is not disturbed. So I keep the valve away from the top zone where zippers, tear notches, and seals compete for space.
| Risky area |
Why it is risky |
My rule |
| Top seal edge |
Most sensitive leak zone under transit stress |
Do not place valve near it |
| Above the zipper |
Shear loading and pressure shadow stacking |
Keep valve out of this top zone |
| Side seal edges |
Seal edge fatigue and bending |
Keep a clear safety margin |
Avoid Fold Lines and Gusset Corners: Where Bending Turns Valve Zones Into Crack Starters?
Fold lines and gusset corners are where film bends and creases. If the valve sits there, the hard point amplifies bending stress.
I avoid placing the valve sticker on any fold line, gusset transition, or corner stress zone. I prefer a flat main panel area that stays stable in cartons.
Why “stable panel first” reduces both leaks and ugly creases
I treat gusset corners and fold lines as fatigue hotspots. They bend during filling, they bend when the pouch is squeezed in cartons, and they bend again during handling. From a production standpoint, this matters because repeated bending creates micro-cracks and micro-channels, especially around hard attachments. In real manufacturing, this detail often determines whether the valve zone becomes a slow leak over time. From our daily packaging work, we see that many “valve leaks” are actually fold-line leaks that happen near the valve because the valve was placed on or near a crease. So I place the valve on a stable main panel, away from where the pouch naturally wants to fold.
| Zone |
What happens in transit |
What I do |
| Gusset fold line |
Repeated creasing and fatigue |
Keep valve off the fold line |
| Bottom corners |
Stress concentration under compression |
Avoid corners and transition zones |
| Panel near edge columns |
Hard stacking pressure |
Choose the flatter center panel zone |
Scuffing Is a Route Problem: How Carton Rub and COF Decide Whether the Valve Sticker Gets Destroyed?
Valve sticker scuffing is usually a carton problem, not a sticker problem. Carton rub creates haze, scratches, and edge lifting.
I place the valve where it will not be the highest protrusion in the carton. I also control COF and pack-out so pouches do not grind the valve zone against each other.

How I stop the valve sticker from becoming a “rubbing head”
I treat the valve sticker as a bump. In cartons, bumps become contact points. If pouches slide against each other, the bump gets hammered. From a production standpoint, this matters because scuffing does not just look bad. It can lift the sticker edge, and the lifted edge can become a leak risk and a print damage risk. In real manufacturing, this detail often determines whether a pouch looks premium on day one and looks cheap after a week in distribution. From our daily packaging work, we see that placement and pack-out work together. A “good placement” can still fail if cartons are packed too tight or if pouches can freely slide and rub. So I manage both: I choose placement away from high-contact zones, and I set COF and carton clearance so pouches do not become a self-abrasion system.
| Scuff driver |
What it causes |
What I control |
| Pouch-to-pouch sliding |
Sticker edge wear and haze |
COF range + carton clearance |
| Tight cartons |
Localized rubbing and pressure |
Pack-out rules and headspace |
| Valve as the highest point |
Sticker becomes a contact head |
Placement on least-contact panel zone |
Orientation Matters: Front vs Back Panel, Upper vs Mid Panel—How I Choose the Least-Punished Zone?
I do not use one valve location for every pouch. I choose the zone that receives the least bending, least stacking pressure, and least rubbing.
I decide front vs back and upper vs mid based on pouch type, how the customer packs cartons, and how the pouch will be displayed. My goal is a stable panel that stays out of rub paths.
My placement logic that adapts to real packing and display habits
I ask how the customer packs and how the customer displays. If the front panel is the shelf face, I check whether that face is more likely to rub during packing and shipping. If pouches are stacked valve-to-valve, I avoid positions that create direct contact. From a production standpoint, this matters because the “least punished” zone changes with packing orientation. In real manufacturing, this detail often determines whether the valve sticker stays clean or becomes the first damaged area. From our daily packaging work, we see that the safest zone is usually a flatter main panel area away from edges and away from the top seal system, but the exact location depends on how cartons are filled and how pouches settle under compression.
| Decision |
What I look for |
My goal |
| Front vs back |
Which face rubs more in cartons |
Keep valve off the rub face |
| Upper vs mid |
Seal system crowding and stacking pressure |
Stable panel with safety margins |
| Center vs near edges |
Fold and corner stress zones |
Avoid crease and corner fatigue |
Adhesive and Surface Pairing: Why Placement Fails When Sticker Bonding Meets Slip Additives or Matte Coatings?
A perfect placement can still fail if the sticker bond is unstable. Slip additives, matte coatings, and soft-touch layers can reduce adhesion and cause edge lift.
I pair adhesive type with the surface finish and confirm bonding under heat and humidity. If the edge lifts, I treat it as a future scuff and a future leak risk.
Why I lock surface + adhesive + cure, not placement alone
I never treat adhesion as automatic. Some films are designed to run fast and feel smooth, so they contain slip additives or special coatings. Those coatings can reduce bonding strength. From a production standpoint, this matters because valve stickers need stable shear strength during pressure cycles and during carton rubbing. In real manufacturing, this detail often determines whether edges lift after a few days and then scuff everything around them. From our daily packaging work, we see that once the sticker edge lifts, it becomes a scraping blade. It scuffs prints, catches other bags, and can slowly open a micro-channel at the bond edge. So I pair the adhesive system to the exact surface finish and confirm that the sticker is applied with the correct pressure and cure time before I approve production.
| Surface condition |
Common risk |
What I lock |
| High-slip surface |
Low adhesion / edge lift |
Adhesive pairing + bonding test |
| Matte or soft-touch |
Scuffing and lifting under rub |
Scuff expectation + cure control |
| Uneven panel texture |
Incomplete bonding footprint |
Flat bonding zone requirement |
My Placement Rules of Thumb: Minimum Distances, Safe Zones, and What I Never Do?
Placement is simpler when I follow a few strict rules. These rules prevent the most common leak and scuff pathways.
I keep the valve sticker away from seals, away from fold lines, and out of high-contact carton rub zones. I also require a flat bonding footprint so the sticker does not bridge over texture.
The rules that keep me out of trouble on most coffee projects
I avoid “pretty” locations that are mechanically unsafe. I do not place a valve near the top seal, near zipper zones, or near any seal edge that could fatigue under vibration. I do not place a valve across a fold line or near gusset corners where bending repeats. From a production standpoint, this matters because the valve sticker is a hard point that changes stacking behavior. In real manufacturing, this detail often determines whether pouches rub and whether seals see uneven pressure. From our daily packaging work, we see that a stable placement rule set eliminates most valve-related returns before testing even starts. I also require a flat bonding zone around the valve because bonding across wrinkles or textures creates partial contact, and partial contact becomes micro-channels.
| Rule |
Why |
What it prevents |
| Keep away from seal edges |
Seal edges are micro-leak hotspots |
Pressure-shadow leaks |
| Never on fold lines/corners |
Bending amplifies hard-point stress |
Crack starters and channels |
| Avoid carton rub paths |
Valve becomes a rubbing head |
Scuffs and edge lift |
| Require flat bonding footprint |
Full contact is critical |
Bond-edge micro-channels |
RFQ Checklist: What I Lock So the Supplier Can’t Move the Valve Into a Risky Zone?
If I do not lock valve placement in the RFQ and artwork layout, it can change during production optimization. Small moves can create big risks.
I define coordinates, safety distances, valve size, surface finish, and carton scenario. That prevents “looks the same” changes that increase micro-leaks and scuffing.
What I write down so placement stays stable from sample to mass production
I treat valve placement as a controlled spec. I do not rely on “we usually place it here.” From a production standpoint, this matters because factories may move the valve to improve layout efficiency or to avoid printing issues. In real manufacturing, this detail often determines whether the production version matches the sample behavior. From our daily packaging work, we see that the safest approach is to define valve coordinates relative to key reference points: top seal, side seals, and bottom structure. I also lock the valve and sticker dimensions and the surface finish requirements so adhesion and scuff behavior stay consistent. Finally, I describe the shipping and carton packing method because placement that is safe in one pack-out can fail in another.
| RFQ item |
What I specify |
Why it matters |
| Pouch type + panel dimensions |
Exact structure and panel sizes |
Placement zones change by pouch geometry |
| Valve coordinates |
Distances from top/side/bottom references |
Prevents risky relocation |
| Valve + sticker size |
Diameter and bonding footprint |
Controls contact and stress distribution |
| Surface finish |
Matte/gloss/slip level assumptions |
Adhesion and scuff behavior |
| Shipping and pack-out |
Carton tightness, orientation, palletization |
Defines rub paths and compression zones |
If you need a pouch spec that locks valve placement, scuff resistance, and leak margin in one document, I can align it with your pouch selection:
build it from the stand-up pouch base.

Validation Plan: The 5 Checks I Run (Leak, Bond, Scuff, and Route Stress) Before Mass Production?
I do not approve a valve placement because it looks right. I approve it because it survives stress that matches the route.
I run leak checks around the valve zone, bonding stability checks, carton rub simulation, vibration/compression, and heat/humidity cycling. If the sticker edge lifts, I treat it as a future leak.
The test set that predicts real failures better than a quick “squeeze test”
I test the valve zone like it will be punished. I start with micro-leak testing around the valve and seal edges because that is the most common complaint driver. I also test valve sticker peel and shear because bonding stability matters under CO₂ pressure cycles. From a production standpoint, this matters because bond edges can slowly open micro-channels when they see repeated stress. In real manufacturing, this detail often determines whether a bag is “fine today” but fails later. From our daily packaging work, we see that carton rub simulation is essential for scuff risk because valve stickers are protrusions. I add vibration and compression to simulate pallet loads and truck movement. I also run heat and humidity cycling because adhesive performance can change with temperature and moisture. If I see edge lift at any step, I change surface pairing or placement immediately.
| Check |
What it targets |
Pass signal |
| Micro-leak test |
Channels around valve and seals |
No leak signal at valve edge zones |
| Peel/shear bonding |
Adhesive stability |
No edge lift after stress |
| Carton rub simulation |
Scuffing and abrasion haze |
Sticker edge stays flat and clean |
| Vibration + compression |
Pressure shadows and fatigue |
No new leak after transit stress |
| Heat/humidity cycling |
Adhesive drift |
Bond remains stable in hot, humid swings |
Conclusion
I reduce valve-zone leaks and scuffs by placing the sticker on a stable panel, away from seals and fold lines, and out of carton rub paths. If you want a safer layout, contact me.
Get a Stand-Up Pouch Spec With a Safer Valve Layout
My Role
About Me
Brand: Jinyi
Slogan: From Film to Finished—Done Right.
Website: https://jinyipackage.com/
Our mission:
JINYI is a source manufacturer specializing in flexible packaging. I want to deliver packaging solutions that are reliable, practical, and easy to execute for brands. I focus on predictable quality, clear lead times, and structures that match the product and printing goals.
About me:
JINYI is a source manufacturer specializing in custom flexible packaging solutions, with over 15 years of production experience serving food, snack, pet food, and daily consumer brands.
We operate a standardized manufacturing facility equipped with multiple gravure printing lines as well as advanced HP digital printing systems, allowing us to support both stable large-volume orders and flexible short runs with consistent quality.
From material selection to finished pouches, we focus on process control, repeatability, and real-world performance. Our goal is to help brands reduce communication costs, achieve predictable quality, and ensure packaging performs reliably on shelf, in transit, and at end use.
FAQ
1) Should the valve be closer to the top seal or the center of the panel?
I usually keep it away from the top seal and seal edges. I prefer a stable main panel zone that does not bend or sit in a pressure shadow.
2) Can valve placement cause micro-leaks even if the film barrier is strong?
Yes. Micro-leaks often come from stress zones and bond-edge channels. Placement can move the valve into or out of those zones.
3) Why does the valve sticker scuff the print in cartons?
The sticker acts as a protrusion. When pouches slide, the valve becomes a rubbing head and the edge can wear or lift.
4) Does matte film make valve sticker scuffing worse?
Matte and soft-touch surfaces can show haze and scratching more easily, and they can also change adhesion behavior. I always pair adhesive to the surface finish.
5) What is the fastest test to catch valve-zone micro-leaks?
I start with a micro-leak test focused around the valve edge and seal edges, then I add vibration/compression to see if channels open under route stress.