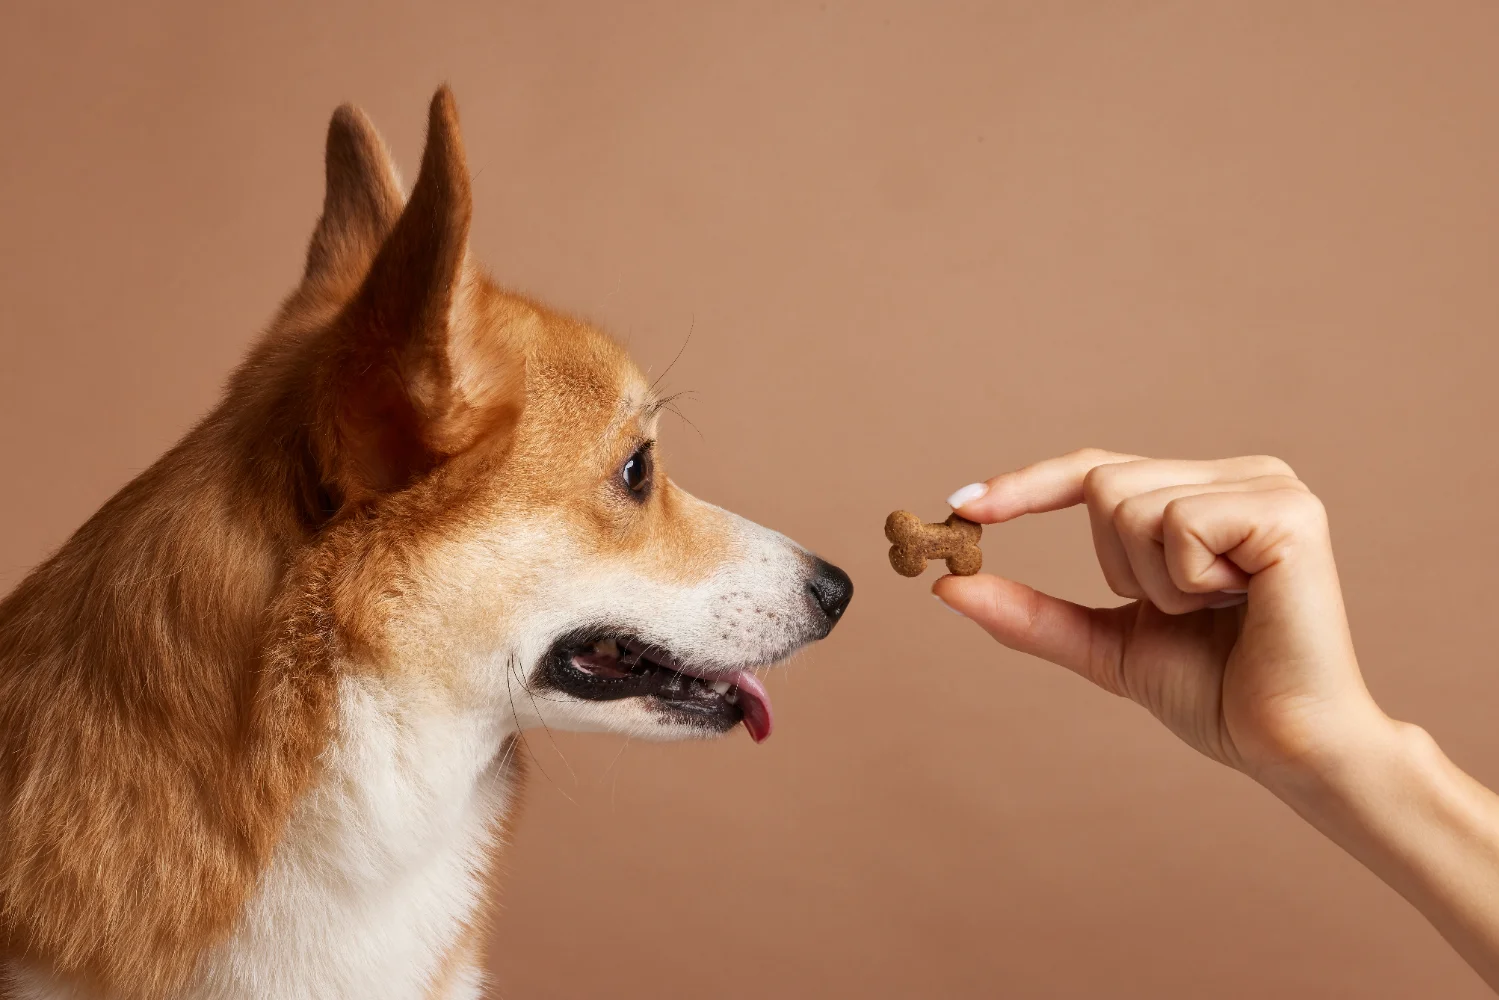
Pet food pouches look “fine” until a crushed corner, a tiny hole, or a quiet micro-leak turns into refunds and bad reviews.
Stand-up pouches work for pet food when I treat them as a protection system: I map puncture + grease + odor risks first, then lock the seal window, fit, and route tests before I scale. See stand-up pouches built for real shipping stress.

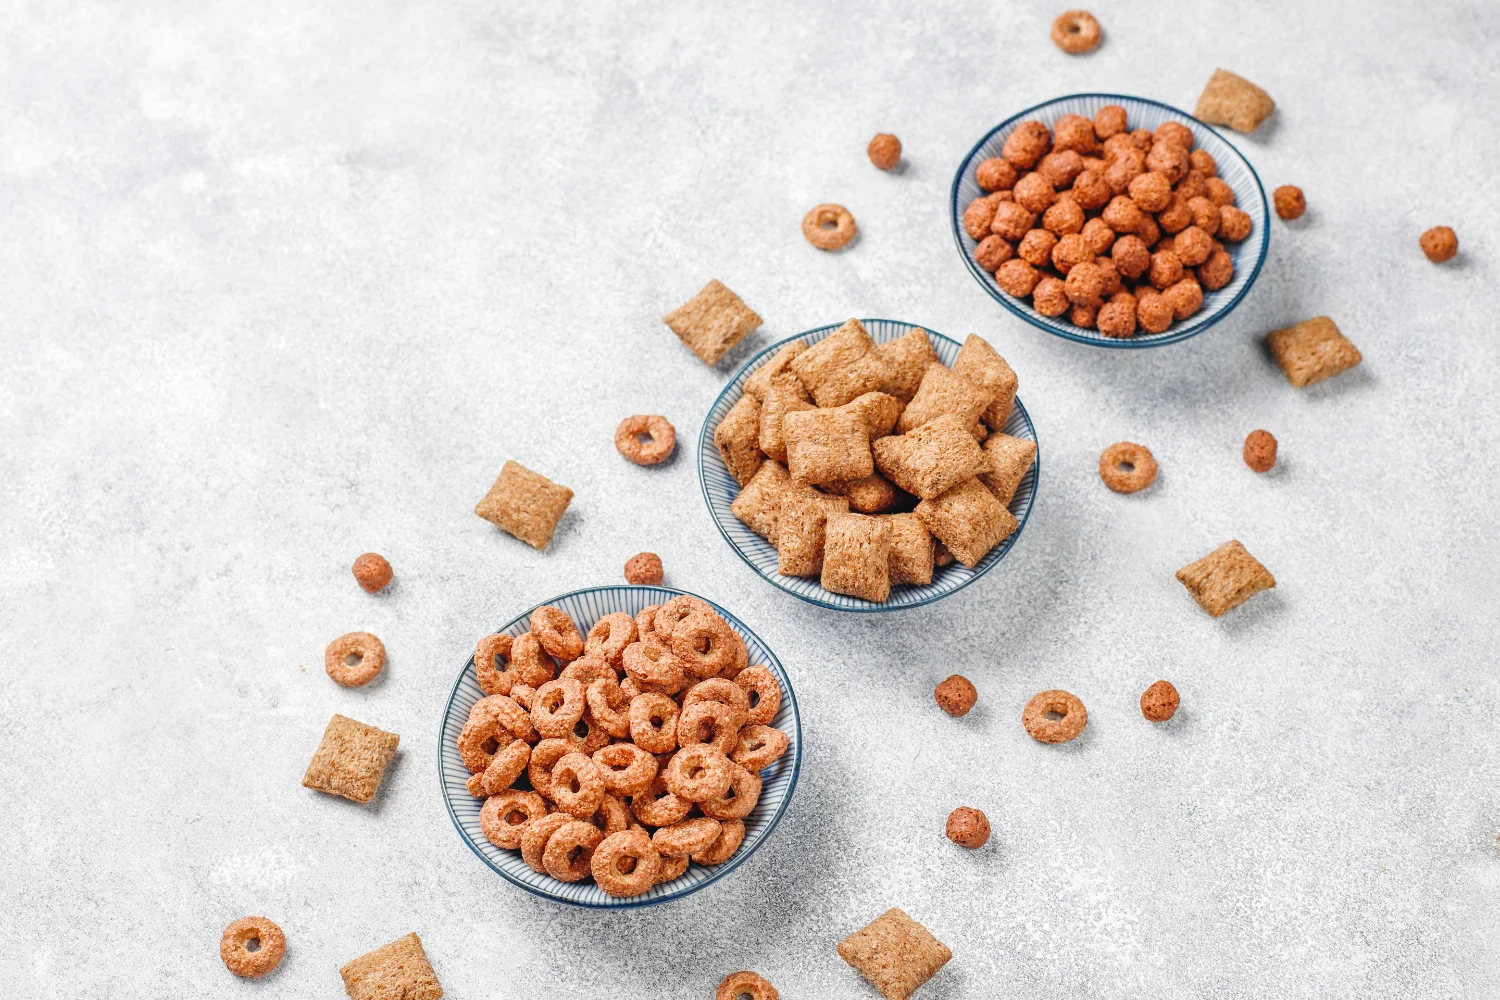
I do not start with “thicker film.” I start with how your kibble, treats, or freeze-dried pieces will attack the pouch during filling, shipping, and week-by-week storage.
Start With the Product: Kibble vs Treats vs Freeze-Dried—What Changes the Risk Map?
Many brands pick one pouch style and hope it fits everything. That is how punctures and odor loss show up later.
My rule is simple: the product shape and surface decide the failure path. Kibble can behave like sharp gravel. Greasy treats can contaminate seal areas. Freeze-dried pieces can crush into dust and create “invisible leakers” during packing. From a production standpoint, this matters because the same pouch can pass a calm lab check and still fail when a fast line adds vibration, dust, and small alignment drift.
What I map before I recommend a stand-up pouch
| Product type |
Main risk |
What I control first |
| Kibble (hard, angular) |
Micro-holes from corner stress + vibration |
Fit (headspace), toughness, abrasion points |
| Greasy treats (oil migration) |
Seal contamination + surface “dirty look” |
Seal land design, contamination tolerance, scuff control |
| Freeze-dried (fragile, dusty) |
Dust-driven false seals + odor drop |
Seal window + cleaning strategy + leak validation |
In real manufacturing, this detail often determines whether your pouch is stable at full speed or only stable in samples. I also ask how the bag is packed into cases, because case layout can create repeated corner rubbing that becomes pinholes later.
Puncture Reality: Why “Sharp Kibble + Vibration” Creates Micro-Holes First?
If a pouch fails, many people blame film thickness. That is usually too late and too expensive.
I treat puncture as a route-stress problem. Sharp kibble hits the same zones again and again: bottom gusset fold lines, corner contact points, and any area that rubs against the case wall. “Week-4” complaints happen because holes start as micro-damage, then grow under compression and vibration. From our daily packaging work, we see that headspace is the hidden multiplier: too much empty space lets kibble act like a hammer inside the bag.
Where punctures start and how I prevent them
| Typical puncture zone |
Why it fails |
My control action |
| Bottom gusset folds |
Fold stress + repeated internal impact |
Adjust fit, reduce headspace, choose tougher structure |
| Corner/edge contact points |
Case rubbing + compression stacking |
Case pack-out rules, abrasion control, surface protection |
| High-scuff panels |
Friction damage becomes micro-tears |
COF balance and scuff-resistant finish strategy |
My goal is not “overbuild.” My goal is “stop damage growth.” I would rather lock fit and pack-out first than ask you to pay for film you do not need.

Seal System First: Seal Window, Hot Tack, Seal Land Width, and Contamination Tolerance?
Most odor-loss and grease complaints start at the seal system, not in the middle of the film.
I treat the seal as the first performance requirement. Grease mist and dust can sit on the seal land and create “false seals” that look fine until pressure changes or vibration opens micro-gaps. Hot tack matters on fast lines because the seal must hold while the pouch is still warm and moving. Seal land width matters because narrow seals have less margin when contamination happens. From a production standpoint, this matters because your best barrier structure is meaningless if your seal window is unstable at speed.
How I set a seal system that survives grease and dust
| Seal variable |
What can go wrong |
What I verify |
| Seal window |
Small drift creates leakers |
Stable settings across shifts and roll changes |
| Hot tack |
Early opening on fast discharge |
Hold strength before full cooling |
| Seal land width |
Too little margin under contamination |
Seal width targets by product dust/oil level |
| Contamination tolerance |
Invisible leakers from oil/dust |
Inverted/side-leak checks after vibration |
If you want a stand-up pouch that resists grease and odor loss, I do not sell “premium materials.” I sell a controlled seal system. Ask me for a seal-first pouch recommendation.
Real-World Validation: The Tests I Trust for Pet Food (Drop, Compression, Vibration, Odor Hold)?
Many pouches pass a quick visual check and still fail after two weeks of real shipping.
I use a simple rule: if the test does not match the route, it does not predict complaints. I run combined stress because pet food failures are rarely single-cause. Compression creates corner stress, vibration grows micro-damage, and scuff changes both appearance and leak risk. Then I add odor hold checks because “the bag did not burst” is not the same as “the aroma stayed.” In real manufacturing, this detail often determines whether you get repeat orders or repeat claims.
My validation shortlist
| Test |
What it catches |
Pass criteria (practical) |
| Compression + vibration combo |
Corner stress, micro-holes, seal creep |
No leakers after stress + rest period |
| Drop simulation |
Corner crush and sudden impact |
No burst, no seal opening, stable fit |
| Odor hold comparison |
Slow aroma loss |
Noticeable difference stays minimal over time |
After this, I deliver 2–3 options fast: a baseline that is stable, an upgrade that reduces the main risk, and a premium option only if the channel actually pays it back.
Conclusion
I stop pet food pouch failures by locking fit + puncture resistance + a seal system that tolerates oil and dust, then proving it under real route stress.
Get a stand-up pouch spec that survives e-commerce shipping
FAQ
Do I need a thicker pouch film to stop punctures?
Not always. I usually reduce headspace and fix pack-out first, then choose a tougher structure only where the risk zone needs it.
Why does odor drop happen even with “high barrier” materials?
Most odor loss comes from micro-leaks at seals, zippers, or stress points. Barrier numbers do not help if the seal system is unstable.
Are zippers good for pet food pouches?
Zippers improve convenience, but they add a new leak path. I use them only when the user really needs reclose and the seal system passes stress tests.
What is the fastest way to reduce e-commerce damage?
Fix fit and movement: reduce empty space, control internal impact, and validate with compression + vibration, not just a visual check.
How do I choose between kibble and treat packaging rules?
Kibble pushes puncture risk. Treats push grease and contamination risk. I pick structure and seal controls based on which failure you cannot accept.
My Role
Brand: JINYI
Slogan: From Film to Finished—Done Right.
Website: https://jinyipackage.com/
What I do: I am a source factory focused on flexible packaging. I deliver packaging that is reliable, usable, and scalable, with clearer specs, more stable quality, and more predictable lead times.
I position JINYI as a one-stop factory from film to finished pouches. I care about controllability and consistency, so I use standardized sampling, production, and QC workflows to make repeat orders more stable. For me, packaging is not only a bag. It must survive shipping, work in your channel, and feel right in the customer’s hands.