Your pouch can look premium on the shelf, then come back as a complaint. The treat feels soft, the window looks cloudy, and trust drops fast.
I prevent these failures by designing the window as a risk zone, not a decoration. I lock window placement, seal safety margin, moisture control, and scuff resistance so treats stay firm and windows stay clear.
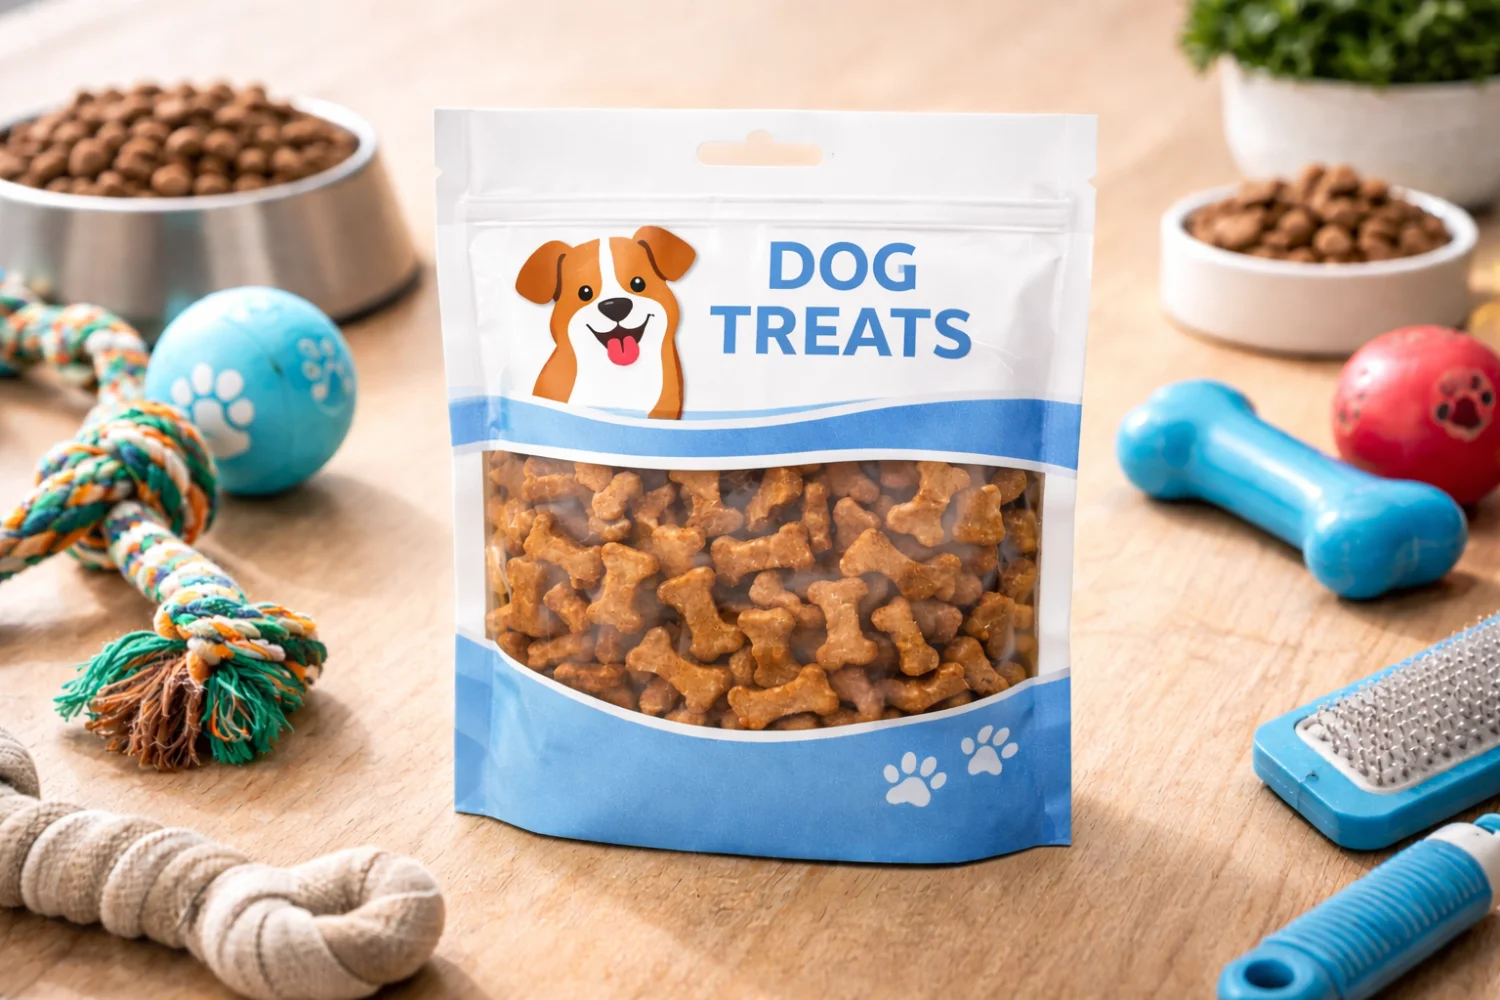
If you want a window pouch that sells well and survives retail handling, start with the right pouch family: browse my custom pouch options.
I do not chase shelf impact alone. I build for shelf impact plus real performance. I assume the pouch will face humid stock rooms, daily customer handling, and friction inside cartons. I design around that reality from day one.
Define the Complaint First: What “Soft Treat” Really Means (aw Drift, Moisture Pickup, Texture Loss)?
“Soft treat” complaints are rarely just taste. Most of the time, they are moisture and texture problems that packaging can amplify.
I break the complaint into causes: water activity drift, moisture pickup through leaks, or a formula that is humidity-sensitive. Once I know the driver, I decide whether to upgrade barrier, fix seals, or change headspace and pack-out.
How I diagnose “soft” before I change the pouch
I do not accept “the treat got soft” as a single problem. I ask what the original texture was, how long it stayed acceptable, and what storage conditions looked like. I also check whether the bag shows any sign of micro-leaks, because a tiny leak can behave like a moisture valve. From a production standpoint, this matters because teams often upgrade barrier film and still fail if the seal or the window edge leaks. I also ask if the treat is semi-moist, high in glycerin, or high in fat, because those formulas can shift texture faster under humidity changes. In real manufacturing, this detail often determines whether a packaging change works or just hides the root cause. If I see moisture pickup as the driver, I focus first on seal integrity and window edge reliability, then I tune moisture barrier and headspace so the texture stays stable on shelf.
What the customer reports
What I suspect
What I check first
Treat feels softer than normal
Moisture pickup
Micro-leaks, seal edges, window border
Treat clumps or sticks
Humidity swings + formula sensitivity
Storage conditions and barrier target
Flavor fades faster
Oxygen ingress + aroma loss
Seal integrity before barrier upgrade
Windows Change the Game: Why a Clear Window Is a Barrier Weak Point Unless I Design Around It?
A window helps selling, but it can weaken protection. If I do not design around it, the window becomes the shortest path for moisture and oxygen.
I treat the window as a structure break and a seal risk. I control window size, placement, and distance to seals first, then I refine the look. Safety margin comes before aesthetics.
How I place windows without sacrificing stability
I assume the window will reduce protection compared to the main laminate. So I do not place it too close to the top seal, side seals, or bottom corners. I want clear “breathing room” between the window edge and high-stress zones. From our daily packaging work, we see that many window failures start when the window edge overlaps with uneven sealing pressure or a fold line. From a production standpoint, this matters because a stand-up pouch has multiple geometry changes: gussets, corners, and zipper zones. Those zones already challenge pressure distribution. If a window edge sits there, the risk multiplies. In real manufacturing, this detail often determines whether the pouch stays tight for months or shows silent micro-leaks. I keep window size realistic, and I prefer shapes that avoid sharp corners, because sharp window corners concentrate stress and make fogging and edge lifting more likely.
Window design choice
What can go wrong
How I reduce risk
Window too large
Lower total barrier, more handling damage
Limit size and strengthen main laminate
Window too close to seals
Uneven pressure, edge micro-channels
Keep a clear distance from seals
Sharp window corners
Stress concentration, edge lift
Use rounded window geometry
Where Window Leaks Really Start: Window Patch Bonding, Seal Edges, and Corner Stress?
Most window leaks do not come from the center area. They start at borders, corners, and transitions where pressure and bonding are uneven.
I focus on three leak starters: micro-channels at the patch border, stress at bottom corners and folds, and feature crowding near the zipper. I fix the border and geometry before I change film thickness.
My 3-zone inspection method for windowed pouches
I do not judge sealing by “overall seal strength” alone. I inspect the transitions. The first zone is the window patch border, because the edge can hide tiny channels where bonding is incomplete. The second zone is the stand-up pouch bottom corners and side fold lines, because stress concentrates there during filling, carton packing, and shelf handling. The third zone is the zipper area, because the zipper profile changes pressure and can distort seals above it. From a production standpoint, this matters because many factories dial settings for a clean-looking seal, but border zones need more attention than flat zones. From our daily packaging work, we see that even a strong seal can leak if the edge geometry creates a thin spot or a pressure shadow. In real manufacturing, this detail often determines whether the pouch stays firm in a humid store or slowly breathes moisture until the treats soften.
Fogging & Haze: Why Windows Turn Cloudy (Condensation, Oil Migration, and Surface Chemistry)?
A clear window can turn cloudy even if the pouch is sealed. That haze looks like “old product,” and it reduces conversion on shelf.
I treat fogging as a combined effect: condensation from temperature swings, oil migration from treats, and surface wear from handling. I validate clarity over time, not only at shipment.
How I keep windows clear across storage and handling
I assume retail conditions are messy. A pouch can move from cold trucks to warm stores, and that temperature swing creates condensation risk. At the same time, many pet treats carry oils, aroma compounds, and fine powders that can migrate or smear onto the window. Then daily shelf handling adds friction that can scuff coatings and trap dust. From a production standpoint, this matters because the window can look perfect on day one and look dull in week three. From our daily packaging work, we see that window haze is often blamed on “bad film,” but the real driver is condensation plus oil migration plus abrasion. In real manufacturing, this detail often determines whether the window stays a selling feature or becomes a liability. I design for stable clarity by controlling window film choice, protecting it from scuff, and running humidity and temperature cycling tests that mimic real retail storage.
Cause
What it looks like
What I validate
Condensation
Foggy film, water marks
Temperature/humidity cycling clarity
Oil migration
Haze, greasy look, dust sticking
Shelf simulation with real product
Surface abrasion
Scratches, dull patches
Scuff testing inside cartons
Zipper + Window Interaction: How I Keep the Seal System Safe When Features Stack Up?
Windows, zippers, notches, and rounded corners all compete for the same space. If I stack features without rules, seals lose safety margin.
I protect the seal window first, then add features. I set zipper position, keep spacing from the window, and verify micro-leak risk above the zipper where pressure distortion is common.
My “feature stacking” rules that keep seals reliable
I treat feature stacking as a geometry problem. Each feature changes stiffness and pressure distribution. If the zipper sits too close to the window, or the window sits too close to the top seal, sealing becomes less uniform. From a production standpoint, this matters because operators cannot “fix geometry” with temperature alone. In real manufacturing, this detail often determines whether seals above the zipper stay tight after filling and handling. I set a clear seal zone above the zipper and keep the window away from that zone. I also check how the zipper affects gusset folding, because gusset distortion can pull on window borders. From our daily packaging work, we see that many “random leaks” are simply spacing mistakes. When I keep a clean layout, I get both shelf impact and predictable sealing.
Feature interaction
Risk
Control I use
Zipper near window
Pressure distortion, border leaks
Keep spacing and protect seal zone
Notch too close to top seal
Tear into seal, micro-leaks
Maintain top seal safety margin
Rounded corners + large window
Stress concentration at transitions
Window geometry and corner clearance
Barrier vs Shelf Impact: How I Choose Structure When the Window Lowers Protection?
Many teams try to “fix the window” by upgrading the whole laminate. That can waste money and still miss the real leak path.
I stabilize seals and window borders first. Then I choose a structure that prioritizes moisture barrier and contamination tolerance, because micro-leaks can erase barrier advantages instantly.
My decision order for windowed treat pouches
I use a simple order of operations. First, I confirm whether micro-leaks exist, because a small leak can make a high barrier structure meaningless. Second, I stabilize the window border and the seal edges, because those are common weak points. Third, I tune barrier based on product sensitivity and shelf-life target. For “soft treat” complaints, I usually prioritize moisture control, because moisture changes texture quickly. From a production standpoint, this matters because seal contamination and seal drift can happen even with premium films. So I choose a sealant layer that is forgiving and holds a wide sealing window. From our daily packaging work, we see that when seals stay stable, brands can often avoid an expensive barrier upgrade. In real manufacturing, this detail often determines whether a project stays profitable while still reducing complaints.
Decision step
What I confirm
What I change
1) Leak reality
Micro-leaks at borders and corners
Seal geometry, process window
2) Window border stability
Patch bonding and stress zones
Patch method, placement, clearance
3) Barrier level
Moisture sensitivity and shelf-life
Structure upgrade only if needed
My Spec Checklist: Window Size/Placement, Seal Width, Patch Method, and Scuff Resistance?
If I say “add a window” without details, I invite substitutions. Substitutions are how window pouches become risky while still looking the same.
I lock window dimensions, placement distances, patch method, seal widths, sealing window targets, and scuff resistance. That removes ambiguity and keeps the pouch stable in real retail handling.
The RFQ items I include for windowed pet treat pouches
I write a window pouch RFQ like a performance spec. I define window size range and the exact placement rule, including minimum distance to top seal, side seal, and bottom corners. I define the window film type and thickness range. I also specify the patch method, because patch bonding quality controls micro-channel risk at the border. Then I define top and side seal widths and I require a workable sealing window, not a single temperature point. From a production standpoint, this matters because pressure distribution varies across pouch areas, and the factory needs a forgiving window. I also add scuff resistance expectations, because retail handling and carton rubbing are real. From our daily packaging work, we see that scuff damage can make windows look hazy and can expose weak points. In real manufacturing, this detail often determines whether a pouch still looks premium after weeks on shelf.
Spec item
What I lock
Why it matters
Window placement
Minimum distance to seals/corners
Protects high-stress zones
Window method
Patch vs laminated window zone
Controls border micro-channels
Seal widths
Top/side/bottom seal margin
Prevents fatigue and leaks
Scuff resistance
Surface durability requirement
Keeps window and print looking premium
pet treat packaging 17
Validation Plan: The Tests I Run for Windowed Treat Pouches (Leak, Fogging, Texture, and Route Stress)?
A single test cannot catch a window pouch failure. Real failures are usually combinations: small leaks plus humidity plus handling wear.
I run a combined validation plan: leak testing at window borders, humidity cycling for fogging and texture, scuff testing for window clarity and print, and vibration/compression for border fatigue.
My combined test plan that matches retail reality
I validate window pouches as a system. First, I run leak tests and I focus on the window border and bottom corners, because those areas hide micro-channels. Second, I run temperature and humidity cycling with real product inside, because fogging and treat texture changes are time-based outcomes. Third, I run scuff and abrasion tests, because retail handling and carton rubbing can damage coatings and reduce clarity. Fourth, I run vibration and compression simulation to mimic pallet stacking and transport. From a production standpoint, this matters because the pouch may pass day-one checks but fail after fatigue. From our daily packaging work, we see that the first sign of a future complaint is often a small border issue that grows under vibration. In real manufacturing, this detail often determines whether you scale confidently or keep firefighting after launch. If I see any border channel signs, I go back to placement and patch method before I change the whole structure.
Test
What I target
Pass condition
Leak test (air/dye)
Window border + corners
No micro-leak indications
Temp/RH cycling
Fogging + texture stability
Window stays clear, treat stays stable
Scuff/abrasion
Window clarity + print wear
No haze from scuff, acceptable appearance
Vibration/compression
Border fatigue and seal drift
No new leak paths after stress
Conclusion
I keep windowed treat pouches reliable by protecting window borders, locking seal safety margin, and validating against humidity and handling. If you want a safer spec, contact me.
Our mission:
JINYI is a source manufacturer specializing in flexible packaging. I want to deliver packaging solutions that are reliable, practical, and easy to execute for brands. I focus on predictable quality, clear lead times, and structures that match the product and printing goals.
About me:
JINYI is a source manufacturer specializing in custom flexible packaging solutions, with over 15 years of production experience serving food, snack, pet food, and daily consumer brands.
We operate a standardized manufacturing facility equipped with multiple gravure printing lines as well as advanced HP digital printing systems, allowing us to support both stable large-volume orders and flexible short runs with consistent quality.
From material selection to finished pouches, we focus on process control, repeatability, and real-world performance. Our goal is to help brands reduce communication costs, achieve predictable quality, and ensure packaging performs reliably on shelf, in transit, and at end use.
FAQ
1) Why do soft treat complaints happen even when the pouch looks sealed?
I often see micro-leaks at the window border or bottom corners. A tiny leak can still let moisture in and shift texture over time.
2) Where do window pouch leaks usually start?
I usually find them at the patch border, near high-stress corners, or in pressure-shadow zones around zippers and gussets.
3) What causes a clear window to turn cloudy on shelf?
I often see condensation from temperature swings, oil migration from treats, and scuff wear from handling combine to create haze.
4) How do I choose a window size that sells well without raising risk?
I keep windows away from seals and corners, avoid sharp window corners, and limit size so the window does not become the dominant barrier weak point.
5) What tests should I run before I scale a windowed pet treat pouch?
I recommend leak testing at borders and corners, humidity cycling with real product, scuff testing for clarity, and vibration/compression to catch border fatigue.