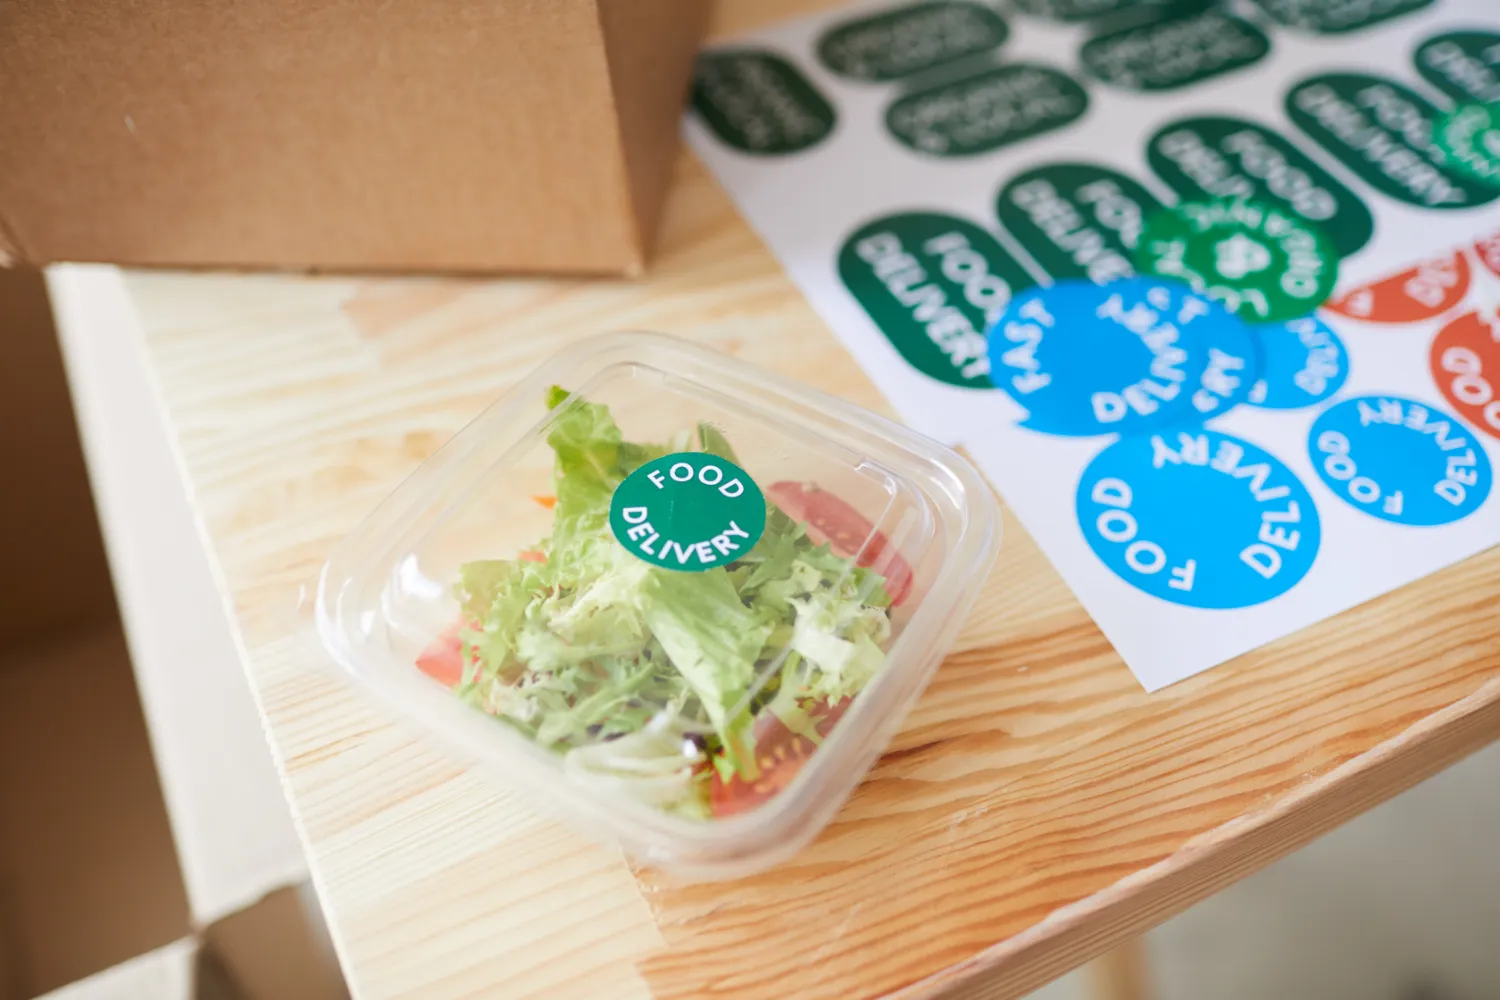
Labels can look perfect in approval, then wrinkle on the applicator, bubble after packing, and lift on the shelf.
I reduce wrinkles, bubbles, and edge lift by designing for route stress, not just print quality. I control the application window, surface conditions, pack-out friction, and thermal/condensation risks, then I validate the full chain (roll + container + case) before I scale.
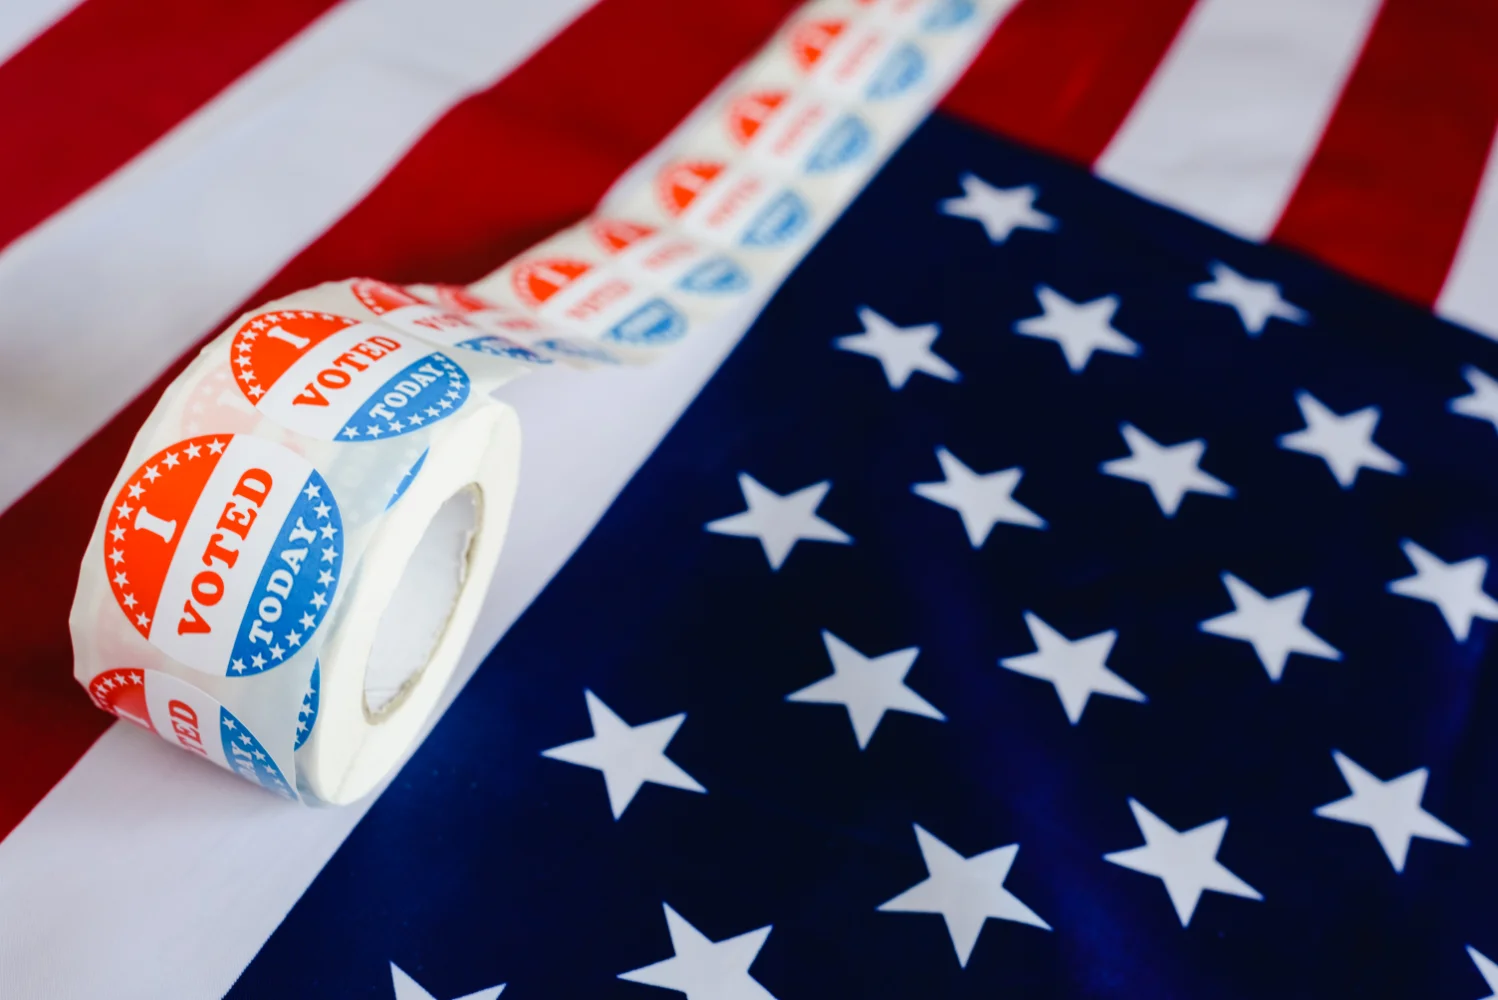
Build custom roll labels that reduce wrinkles, bubbles, and edge lift in your channel

I treat label performance like a system. I do not blame adhesive first. I map where the defect gets amplified. Then I decide what to lock down: the application window, the surface condition, the pack-out contact pattern, or the temperature swing that triggers condensation.
Start With Route Stress: Why Label Complaints Begin After Application, Not at Print Approval?
You can approve a label and still get complaints. That is because approval happens in a calm environment. Your channel is not calm.
When I see wrinkles, bubbles, or edge lift, I do not call it a “material problem” first. I break route stress into application, handling, compression, vibration, thermal cycling, and condensation. Then I look for the leg that magnifies a small defect into a visible complaint.
How I map the route before I lock specs
| Channel |
Stress driver |
What gets amplified |
What I lock first |
| DTC parcels |
Handling + vibration |
Small edge lift becomes scuff + peel |
Pack-out movement + contact points |
| Retail distribution |
Compression + stacking |
Wrinkles turn into “cheap look” on shelf |
Case fit + label protection zones |
| Cold chain / winter |
Thermal cycling + condensation |
Bubbles and lift appear after temp change |
Condensation window + process timing |
I also define the “worst path” before I quote. E-commerce and retail do not punish labels the same way. Cold chain adds a second enemy: moisture at the surface. When I pick the worst path first, I stop treating defects like surprises. I treat them like predictable outcomes that I can validate.
Application Window: Tension, Dispense Speed, and How “Good Labels” Still Wrinkle on the Line?
When a label wrinkles, most teams blame the label. That slows the fix.
I look at the application window. Unwind tension, dispense speed, nip pressure, and wipe-down angle decide whether a label lays flat or fights the container. The same roll can behave “fine” on one machine and fail on another because the window is too narrow.
My fast checks before I talk about changing materials
| Symptom |
Most common driver |
What I adjust first |
What I do not assume |
| Wrinkles at the leading edge |
Too much tension or wrong wipe-down angle |
Tension + application angle |
“Adhesive is weak” |
| Wrinkles at higher speeds |
Window is narrow, web control is unstable |
Dispense speed + web path stability |
“Face stock is wrong” |
| Mis-registration / skew |
Peel plate geometry and release behavior |
Peel angle + release consistency |
“Printing is off” |
I treat this as a controllable setup problem. I want a window that stays stable when the line speeds up. If your window only works at “slow and careful,” your true cost is downtime. I would rather lock a wider window than chase perfect looks on a static sample.
Surface & Contamination: The Hidden Cause of Bubbles, Tenting, and Early Edge Lift?
Bubbles and lift often look like a label defect. Many times, they are a surface defect.
I assume the container surface can be dirty before I assume the label is wrong. Dust, oil, condensation, mold release, and even hand sweat can create local non-wet-out. Then you see tenting, bubbles, or early lift. If the surface condition changes across shifts, defects will “randomly” appear.
Two bubble types I separate on day one
| Bubble type |
What it really is |
How it behaves |
My first fix |
| Air entrapment |
Air trapped during application |
Shows immediately, pattern repeats |
Wipe-down geometry + pressure + speed |
| Outgassing / contamination |
Surface film, moisture, or residue |
Shows later, looks “random” |
Cleaning standard + anti-static + timing control |
I prefer simple, repeatable pre-treatment over brute-force adhesive. I define a wipe standard. I control static. I add a short waiting rule when condensation risk is present. When I fix the surface and the process first, I often reduce bubble complaints without changing materials. Then I can use material changes as fine tuning, not a desperate reset.
Compression & Vibration: How Micro-Slip Turns Small Lifts Into Big Complaints in Transit?
A 1 mm lift can look harmless at packing. Transit can turn it into a visible peel.
Compression and vibration create friction work. They create micro-slip at contact points. A small edge lift becomes a catch point. Then rubbing grows the lift and scuffs the surface. Customers do not describe “micro-slip.” They describe “cheap labels” and “peeling.”
How I use contact-point thinking in pack-out
| Pack-out clue |
What it implies |
What it does to labels |
My fastest lever |
| Too much headspace |
Units move and collide |
Edges catch and lift grows |
Reduce movement + add spacing |
| Too tight case fit |
High pressure rubbing |
Scuffs, wrinkles, abrasion bands |
Balance fit + reduce friction points |
| Labels at the contact belt |
Repeated touch at one height |
Lift and scuff concentrate |
Move label zone or protect the contact band |
I do not accept “the adhesive failed” until I check the box reality. If pack-out makes labels get scraped for the whole route, any adhesive will lose. My goal is to reduce micro-slip and prevent edges from becoming catch points. Then a normal adhesive system can perform like a strong one, without forcing you into overbuilding.
If you want fewer transit complaints, I design roll labels with pack-out friction and micro-slip in mind
Thermal Cycling & Condensation: Why Cold Chain Creates Lift, Curl, and Adhesion Drift?
Cold chain makes labels look unreliable fast. The label is not always the problem. The temperature transition is.
Thermal cycling and condensation stack into lift, curl, and adhesion drift. Condensation creates a wet boundary layer. Material mismatch creates stress as the container and label system move differently. Adhesion behavior shifts as temperature changes. That is why a label can pass a room-temperature test and still fail after a cold-to-warm transition.
The three temperatures I ask for before I propose changes
| Question |
Why I ask |
What it predicts |
My first move |
| What is the application temperature? |
Sets initial wet-out conditions |
Early bubbles vs. stable laydown |
Adjust timing and surface prep |
| What is the ship-out temperature? |
Drives condensation risk |
Edge lift and curl after packing |
Avoid the condensation window |
| What is the shelf temperature? |
Defines long-term stress |
Adhesion drift and visual change |
Validate with cycling, not one-point tests |
I do not promise “a new material will solve it” before I fix the process sequence. If you apply labels right before a cold-to-warm jump, condensation can undo the best adhesive. I adjust the workflow to avoid the wet window. Then I tune the label system to hold up across cycles. That is how I reduce cold chain surprises without making your spec impossible.
Face Stock, Adhesive, Liner: What Actually Changes Outcomes (And What Doesn’t)?
Material names do not solve route stress. Systems do.
I look at face stock stiffness and conformability, adhesive initial tack and shear, and liner release stability. Those three decide how wide your window is across application speed, handling, and temperature change. A stiffer face stock can resist scuffs but can wrinkle more during application. A stronger adhesive can hide surface issues in the short term but can create reposition problems or residue. A liner that releases inconsistently can create label placement errors and waste.
What I treat as “system variables” instead of single answers
| Variable |
What it controls |
Common mistake |
My approach |
| Face stock stiffness / stretch |
Wrinkle tendency vs. handling durability |
Picking “harder is better” |
Match to container geometry and speed window |
| Adhesive tack / shear |
Wet-out, lift resistance, drift |
Picking “strongest adhesive” |
Balance application + route + removability needs |
| Liner release stability |
Placement, peel feel, waste |
Ignoring release until downtime happens |
Validate consistent release across speeds and temps |
I keep the controllable parameters in front. I stabilize the line window and surface conditions. Then I use materials to widen the window and reduce risk, not to compensate for an unstable process. That is how I keep quality consistent across batches and across routes.

A Practical Validation Checklist: Tests I Run Before Scaling a Batch (Roll + Container + Case Together)?
I do not chase a promise of “no lift.” I chase proof that your labels will survive your route.
I validate the chain, not just the roll. I test the application window on the real machine, then I test transit stress with the real case, then I test thermal/condensation exposure that matches the season. I also record results in a consistent way so the decision is repeatable.
My pre-scale validation plan
| Test block |
What I simulate |
What I score |
Decision rule |
| On-line window |
Tension and speed range on the applicator |
Wrinkle threshold, bubble pattern, placement repeatability |
Pass only if defects stay stable across target speed |
| Transit stress |
Compression + vibration with real pack-out |
Edge lift growth, scuff bands, catch points |
Pass only if lift does not expand to shelf-visible zones |
| Thermal/condensation |
Cold-to-warm cycling and moisture exposure |
Curl, bubbles, adhesion drift |
Pass only if performance holds after cycling |
I also keep the scoring simple. I record visibility distance, defect size, and location. I time rework risk on the line. That is how I make batch decisions without guessing. It is also how I protect total cost per run, because downtime and complaints are always more expensive than a label that looks perfect only in the sample room.
Conclusion
I reduce label complaints by controlling the application window, surface conditions, pack-out friction, and thermal/condensation risk, then validating the full route before scaling.
Get a Custom Roll Label Spec That Fits Your Route
FAQ
1) Why do labels look fine in approval but fail after shipping?
Approval happens in a calm environment. Shipping adds compression, vibration, and temperature swings that amplify small defects into visible wrinkles, bubbles, and edge lift.
2) Are wrinkles usually caused by the label material?
Often they are caused by the application window. Tension, dispense speed, wipe-down angle, and pressure can create wrinkles even with a “good” label.
3) What is the most common cause of bubbles on roll labels?
I separate bubbles into air entrapment during application and bubbles caused by contamination or moisture later. The fix depends on which type you have.
4) Why does edge lift get worse in transit?
Compression and vibration create micro-slip and friction. A small lift becomes a catch point, then rubbing grows it and makes it shelf-visible.
5) How do you validate roll labels for cold chain or winter routes?
I test thermal cycling and condensation scenarios, not just one temperature point. I also adjust process timing to avoid the condensation window before I change materials.
About Me
JINYI — From Film to Finished—Done Right. Website: https://jinyipackage.com/
I run packaging as a system. I standardize sampling, production, and QC so repeat orders stay consistent. I support brands in food, snacks, pet food, and personal care with flexible packaging, cartons, cups, and labels. My goal is practical: I help your packaging ship with fewer complaints, run faster on your line, and perform better on shelf in real channels.